


Enter keyword(s) to search Blogs
Click here to be taken to the original blog
Most Recent
Categories
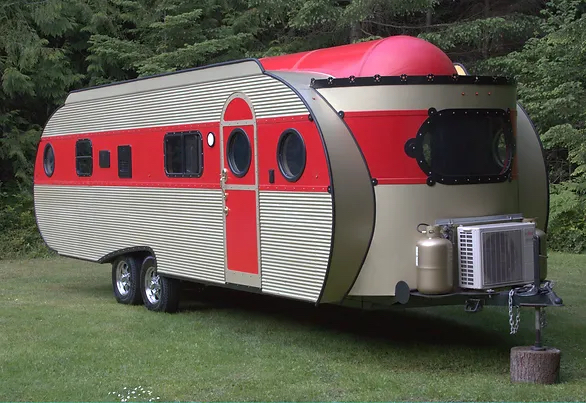
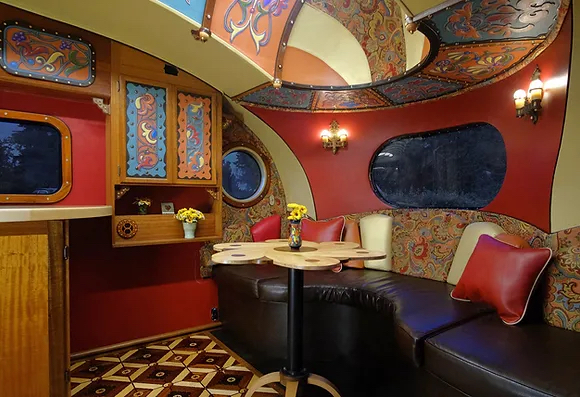
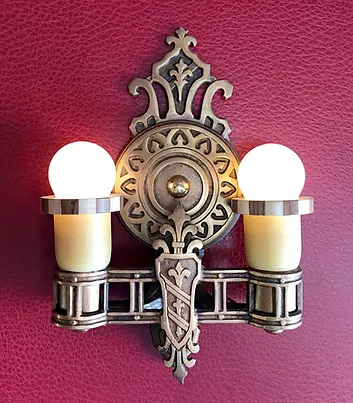
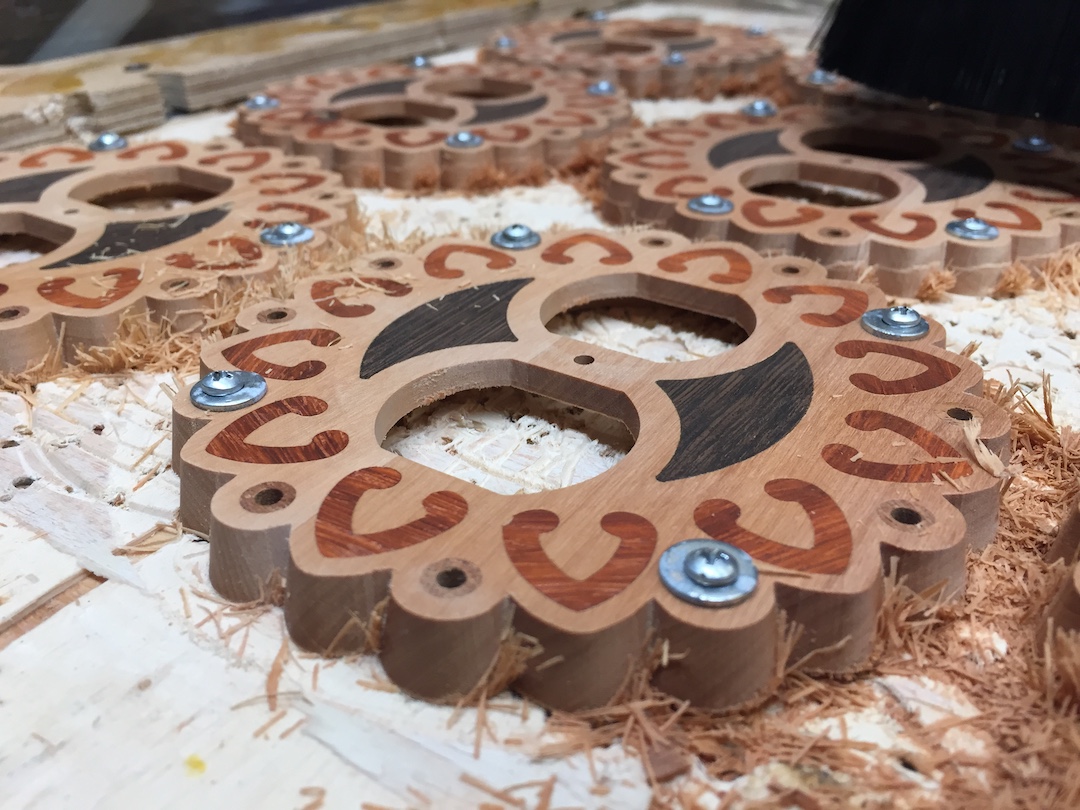
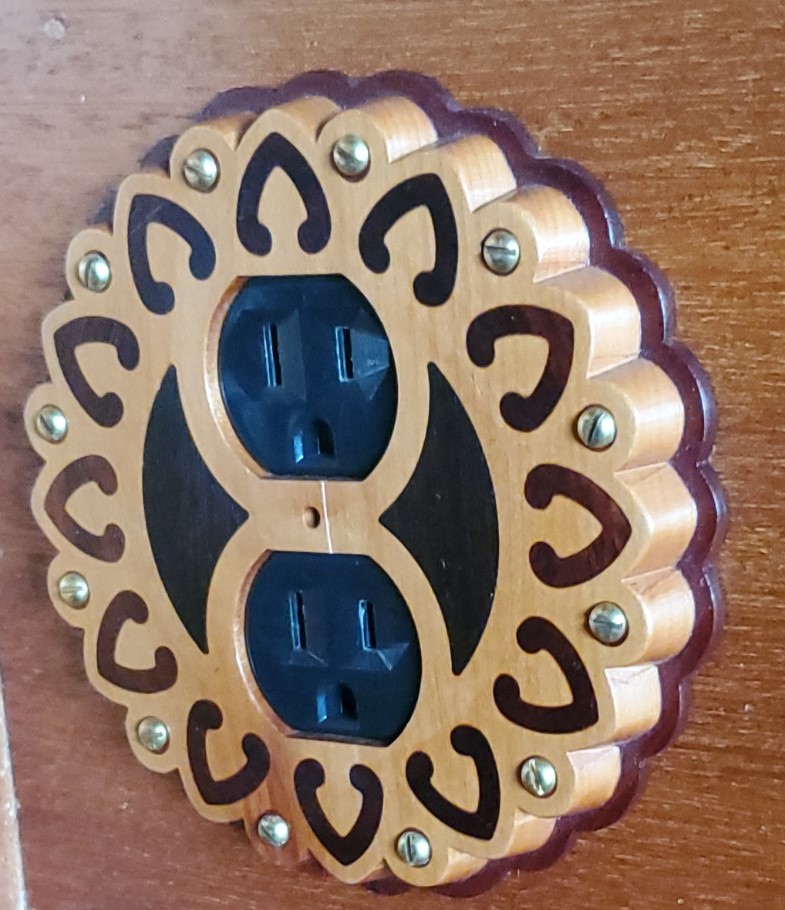
Our last ShopBot blog was about the paintings in our customized 1956 Airfloat LandYacht. This blog focuses on outlet covers which were inspired by four 1920's cast bronze light fixtures which we found at a wonderful antique light fixture parts and repair business hidden in Port Townsend, WA.
Design process:
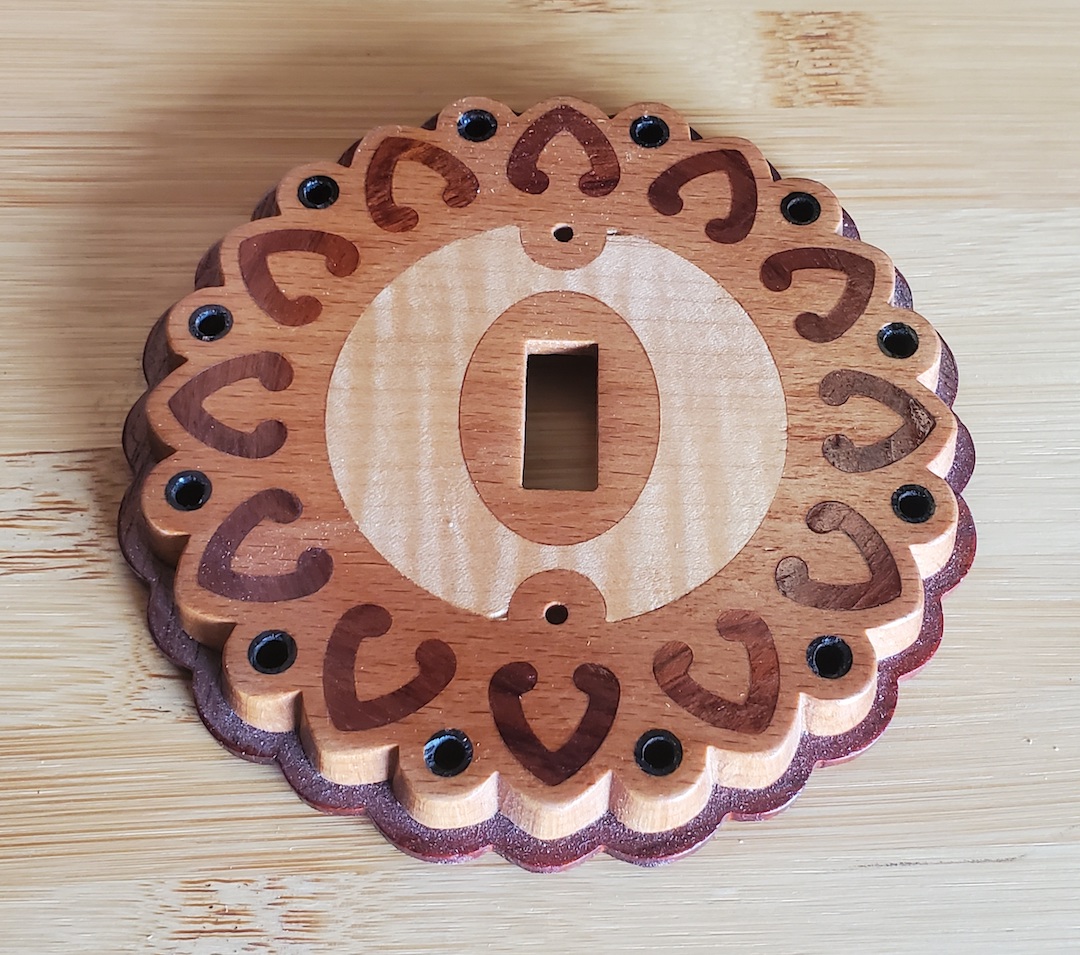
It is fun to let the surprise discoveries influence design. In the case of the trailer which has many facets, we found or were given various elements that took the creative journey in new directions. Since there was already a fleur de lis motif in other elements of the trailer, finding four of these old light fixtures was a great surprise. We rewired the fixtures and added the LED bulbs and other details.
Tools being used:
Rhino3D CAD, ShopBot Desktop, planer, bandsaw, masking tape, and Titebond II glue.
Material:
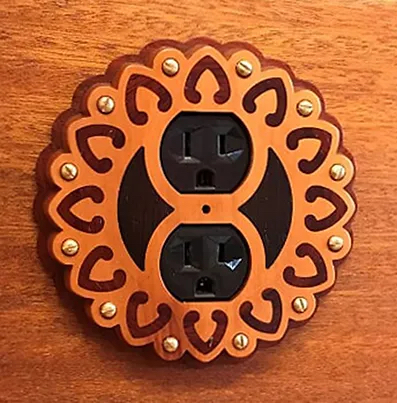
The primary wood used in the fixtures is Madrona, which grows in the Pacific Northwest and has a pinkish to orange color. Madrona is normally a very unstable wood. We discovered a source – or more accurately, a person who acquires wood from the source in Oregon – that pressure treats the Madrona, and it becomes not only stable, but turns into an ultimate machining wood that “cuts like butter”. The inlay is Wenge and a dark “mahogany-ish” wood (a scrap I had of undetermined origin.) The back gasket/trim is also this mahogany-ish wood.
Specialized techniques used:
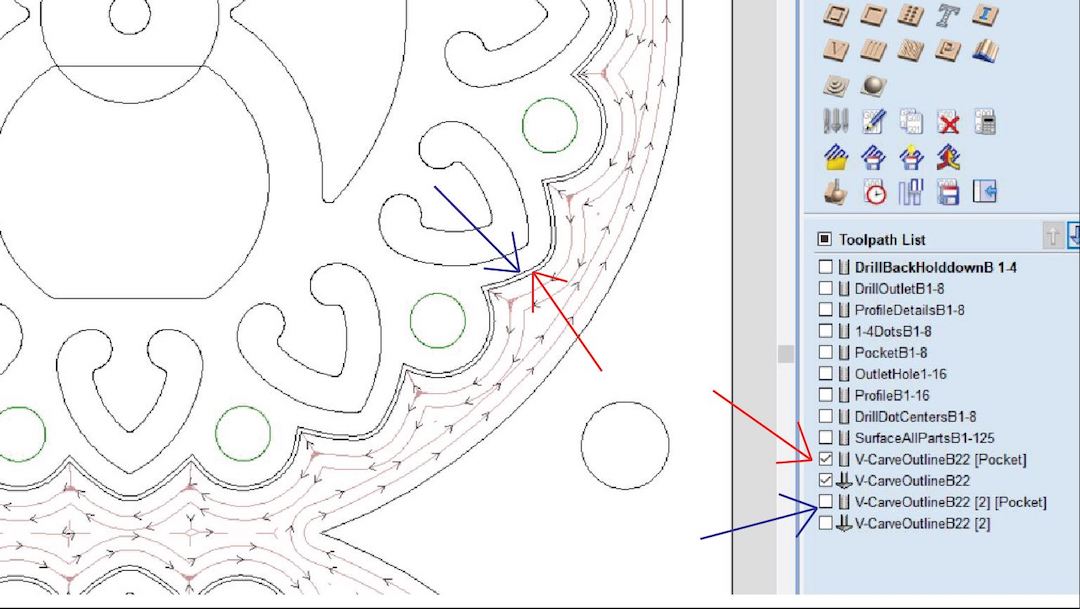
A 22-degree bit (Whiteside 22° Carving Liner) and a V-carve toolpath were used to get the tapered scalloped profile around the perimeter. After experimenting with different processes to achieve a very clean surface, a secondary offset path of .02” (red arrow) was added outside the final perimeter (blue arrow). Therefore, the final v-carve toolpath shaved the surface cleanly.
Process for routing main part:
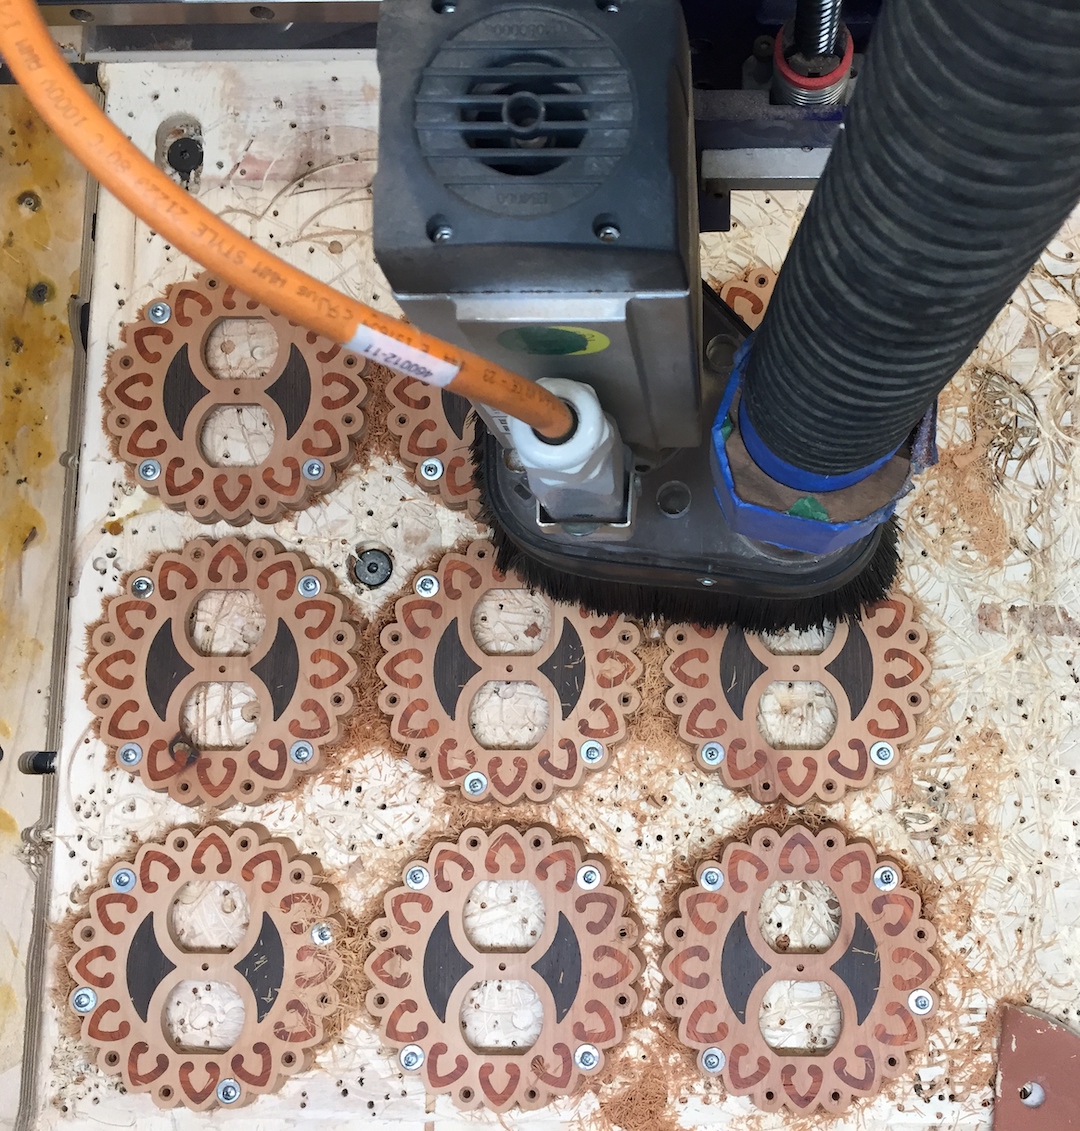
1. Wedge each individual Madrona board in position against 0,0 fence. There are three boards in this set up.
2. Drill initial hold-down holes which are outside final parts surfaces.
3. Drill pilot holes in spoil board to mount the three boards.
4. Screw down boards, three up, to spoil board.
5. Use 1/8” bit to cut openings, v-carve pockets, and drill perimeter holes for brass screws.
6. Trim openings for inlay with 1/16” bit.
7. Glue in inlay.
8. Surface and finish sand the inlaid area to prep for v-carving. A 1.125” surfacing bit was used.
9. V-carve the perimeter with 22 degree bit. To achieve a very clean cut, a finishing v-carve path (blue arrow) offset .02” was added. See frame grab from V-Carve Pro above.
Process for inlay and back trim parts:
1. Wedge each board against 0,0 fence.
2. Cut perimeter of inlay parts with 1/16” bit just deeper than finished part. Since a 1/16” bit removes so little material the wedges are more than strong enough for holding the board.
3. Place painters’ tape over entire surface.
4. Bandsaw off parts at appropriate thicknesses.
For more about this project, visit the dillUHLsional website.
Toll Free: 1-888-680-4466
Phone: 919-680-4800
Fax: 919-680-4900
ShopBot Tools, Inc.
3333-B Industrial Drive
Durham, NC 27704
USA
Office Hours
Monday–Friday: 9am–5pm EST
After Hours Tech Support
Monday–Friday: 5pm–9pm EST
Saturday–Sunday: 10am–5pm EST
Office Closure
ShopBot Tools, Inc. is closed New Year’s Day, Memorial Day, July 4th, Labor Day,
Thanksgiving Day and the following Friday, and Christmas Eve and Christmas Day.
Outside of normal office hours, we regularly check for support requests,
email and phone messages. To make sure we can get back to you as soon as possible,
leave a phone number or return email address where you will be available.