


Enter keyword(s) to search Blogs
Click here to be taken to the original blog
Most Recent
Categories
I always thought that if I hadn’t been a boat carpenter and woodworker, that I would have liked to have been a musician, especially a guitar player. I didn’t want to do all the work and practice part that was required though. I wanted to just magically BE one. So naturally, I never got any better than just a mediocre player. I had reconciled to that when an unfortunate interaction with a table saw left me with a couple of fingers that didn’t bend anymore, ruining even my mediocre playing ability.
Inspired by my old friend Jonathan Ward of Steel Rail Guitars I had built a handful of lap steel guitars using my ShopBot Desktop MAX, and had enjoyed the process and shared my design files as “do-gooder-ware”. You could get the files for a donation to a charity. The lap steels were fun to build, but when luthier Tim Sway started selling a set of files to build his new NPM guitar (with video instructions!), I decided it was time for me to build a “real” electric guitar.
I had a lot of the bits and pieces from earlier projects, (pickups, tuners, and fret wire), and it gave me an excuse to buy a couple of cool new tools like a tang nipper and a fret roller for curving frets. I also had enough wood lying around the shop to build it. I had some thin pieces of Paduak wood from making samples for ShopBot’s display at the NAMM show that would work well for my fingerboard, and some odds and ends pieces of maple that I could cut down for the neck blank. I wasn’t sure what I was going to use for the body, but found a Western Red Cedar 2x6 in the lumber rack that was clear and straight grained that I thought might work. It was also light as a feather!
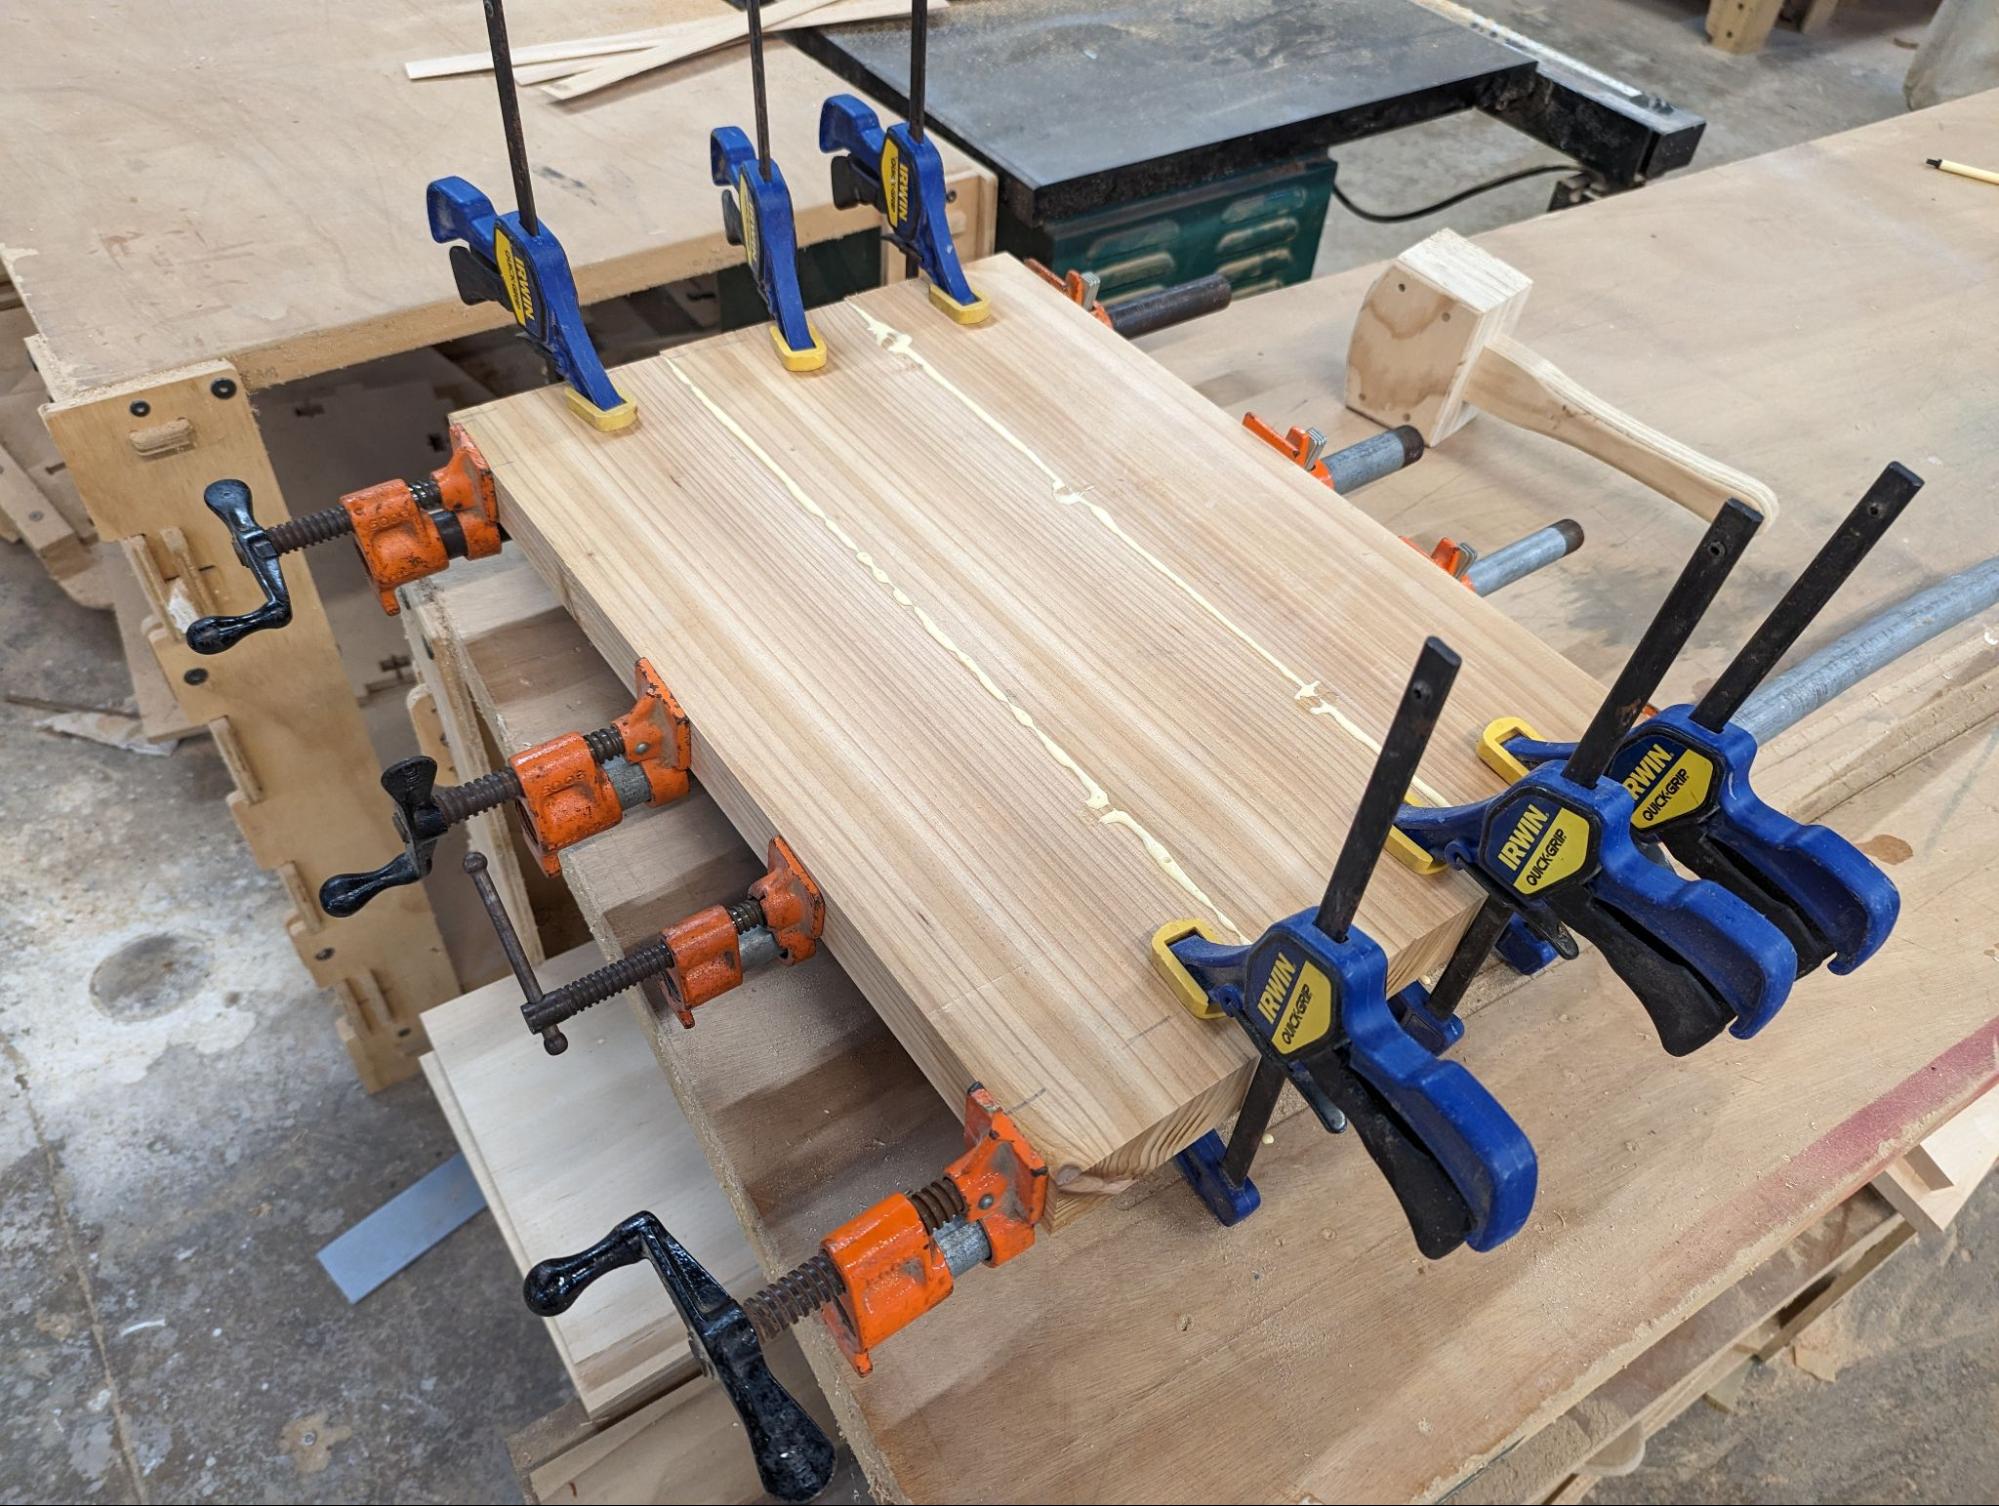
I began by cutting the 2x6x8’ board into shorter lengths, squaring up the edges, and gluing it together into my rough body blank using Titebond glue.
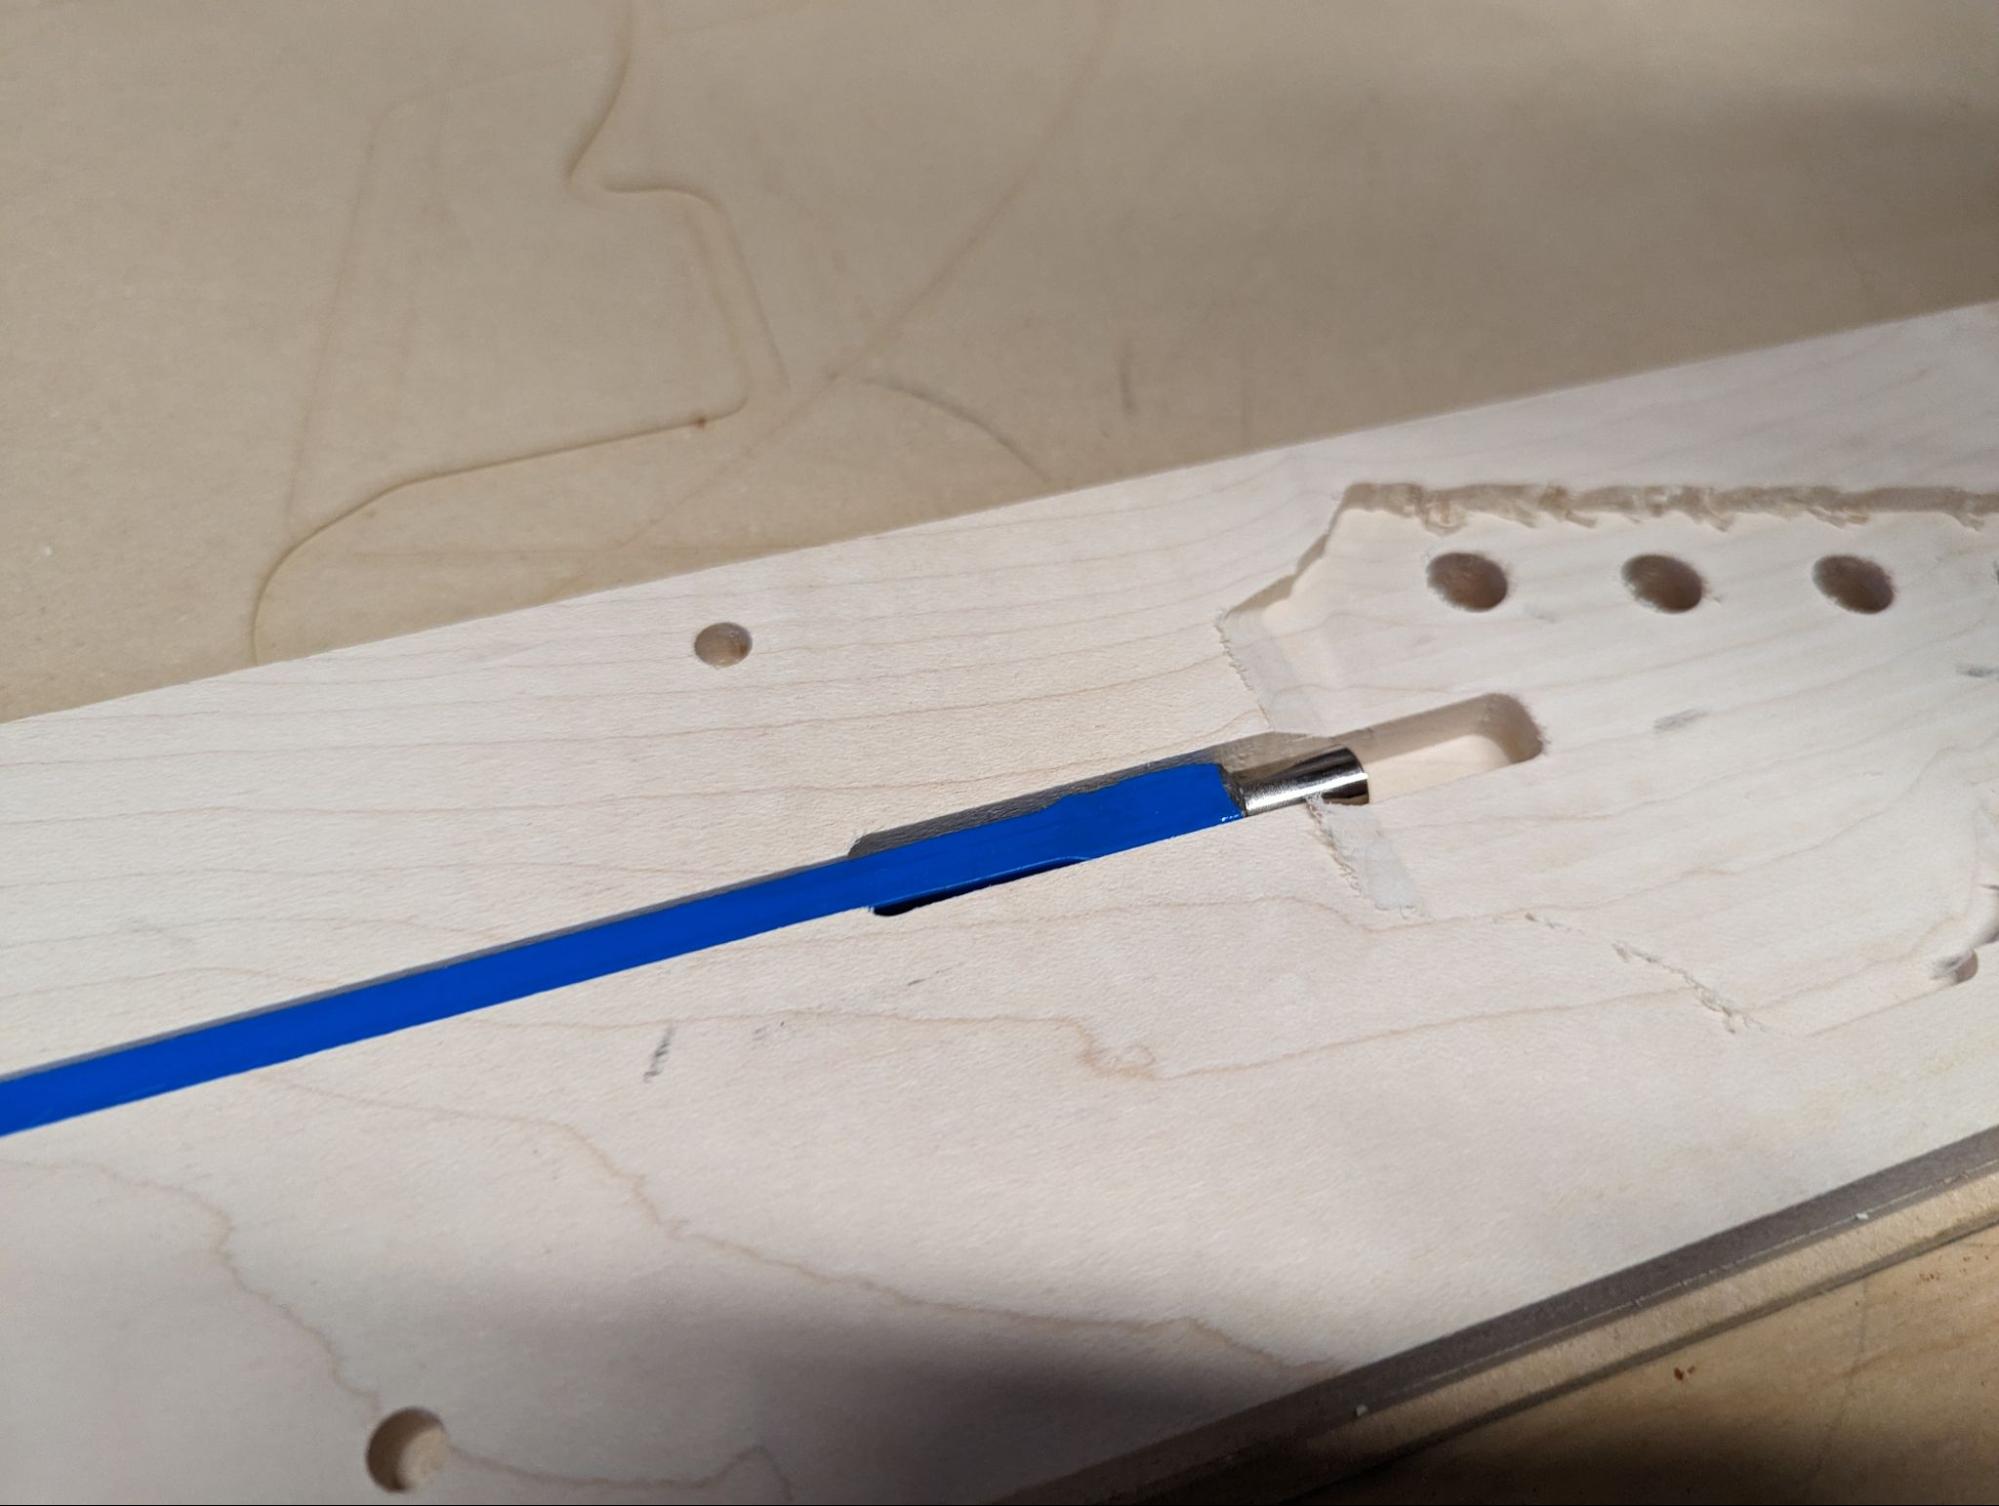
While the glue was drying it was time to tackle the first machining job: The neck. I cut and planed a maple board to the rough size I needed, and stuck it to the spoil board of my ShopBot with double stick tape. Using Tim’s files I began by machining the top of the neck, which involved milling down the section where the tuners will go and cutting the slot of the truss rod that keeps the neck straight. Since the neck was to be a two-sided machining operation I also milled the dowel holes to align the blank when it needed to be flipped to shape the back. Before I did the flip I checked the fit of the truss rod to make sure the slot was deep enough.
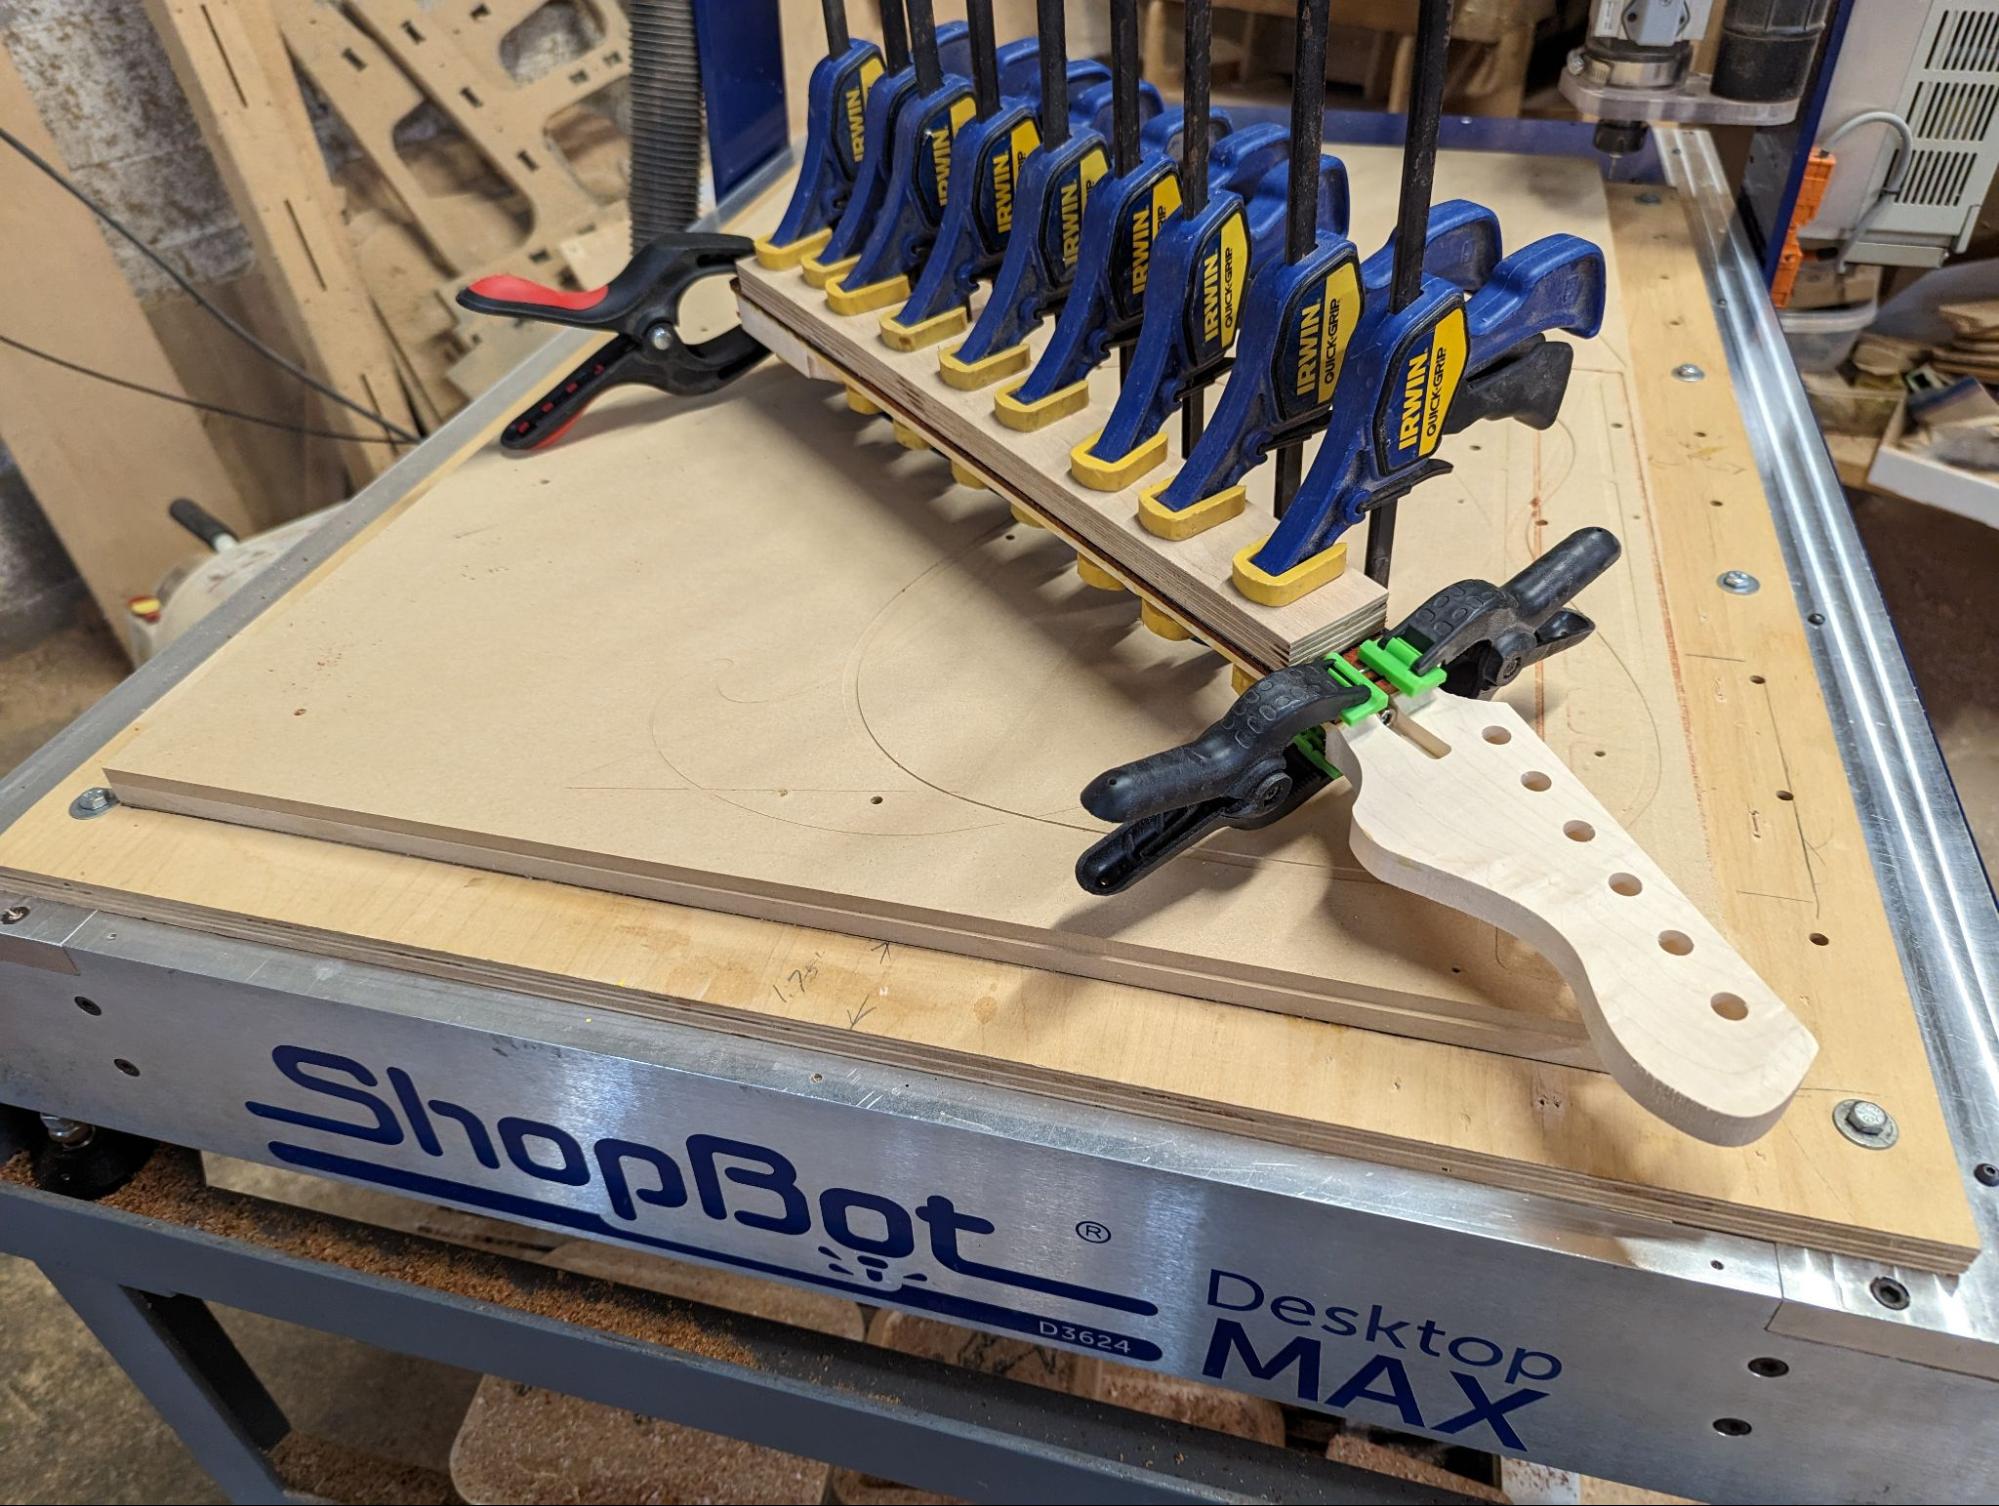
Since I had milled away some of the surface I couldn’t confidently use double sided tape to hold the blank after the flip so instead used screws for hold-down. The dowels aligned things perfectly for the flip, and the neck turned out really nicely using a ¼” ballnose bit for shaping. Once the neck was complete I needed to make sure that the body pocket that it went into would be a good fit, so I cut a test pocket in a scrap piece of my cedar and inserted my neck. Fortunately the fit was great, but if I had needed to make an adjustment it would have been much easier to modify that pocket in the design file than it would have been to trim the pocket after the body was done.
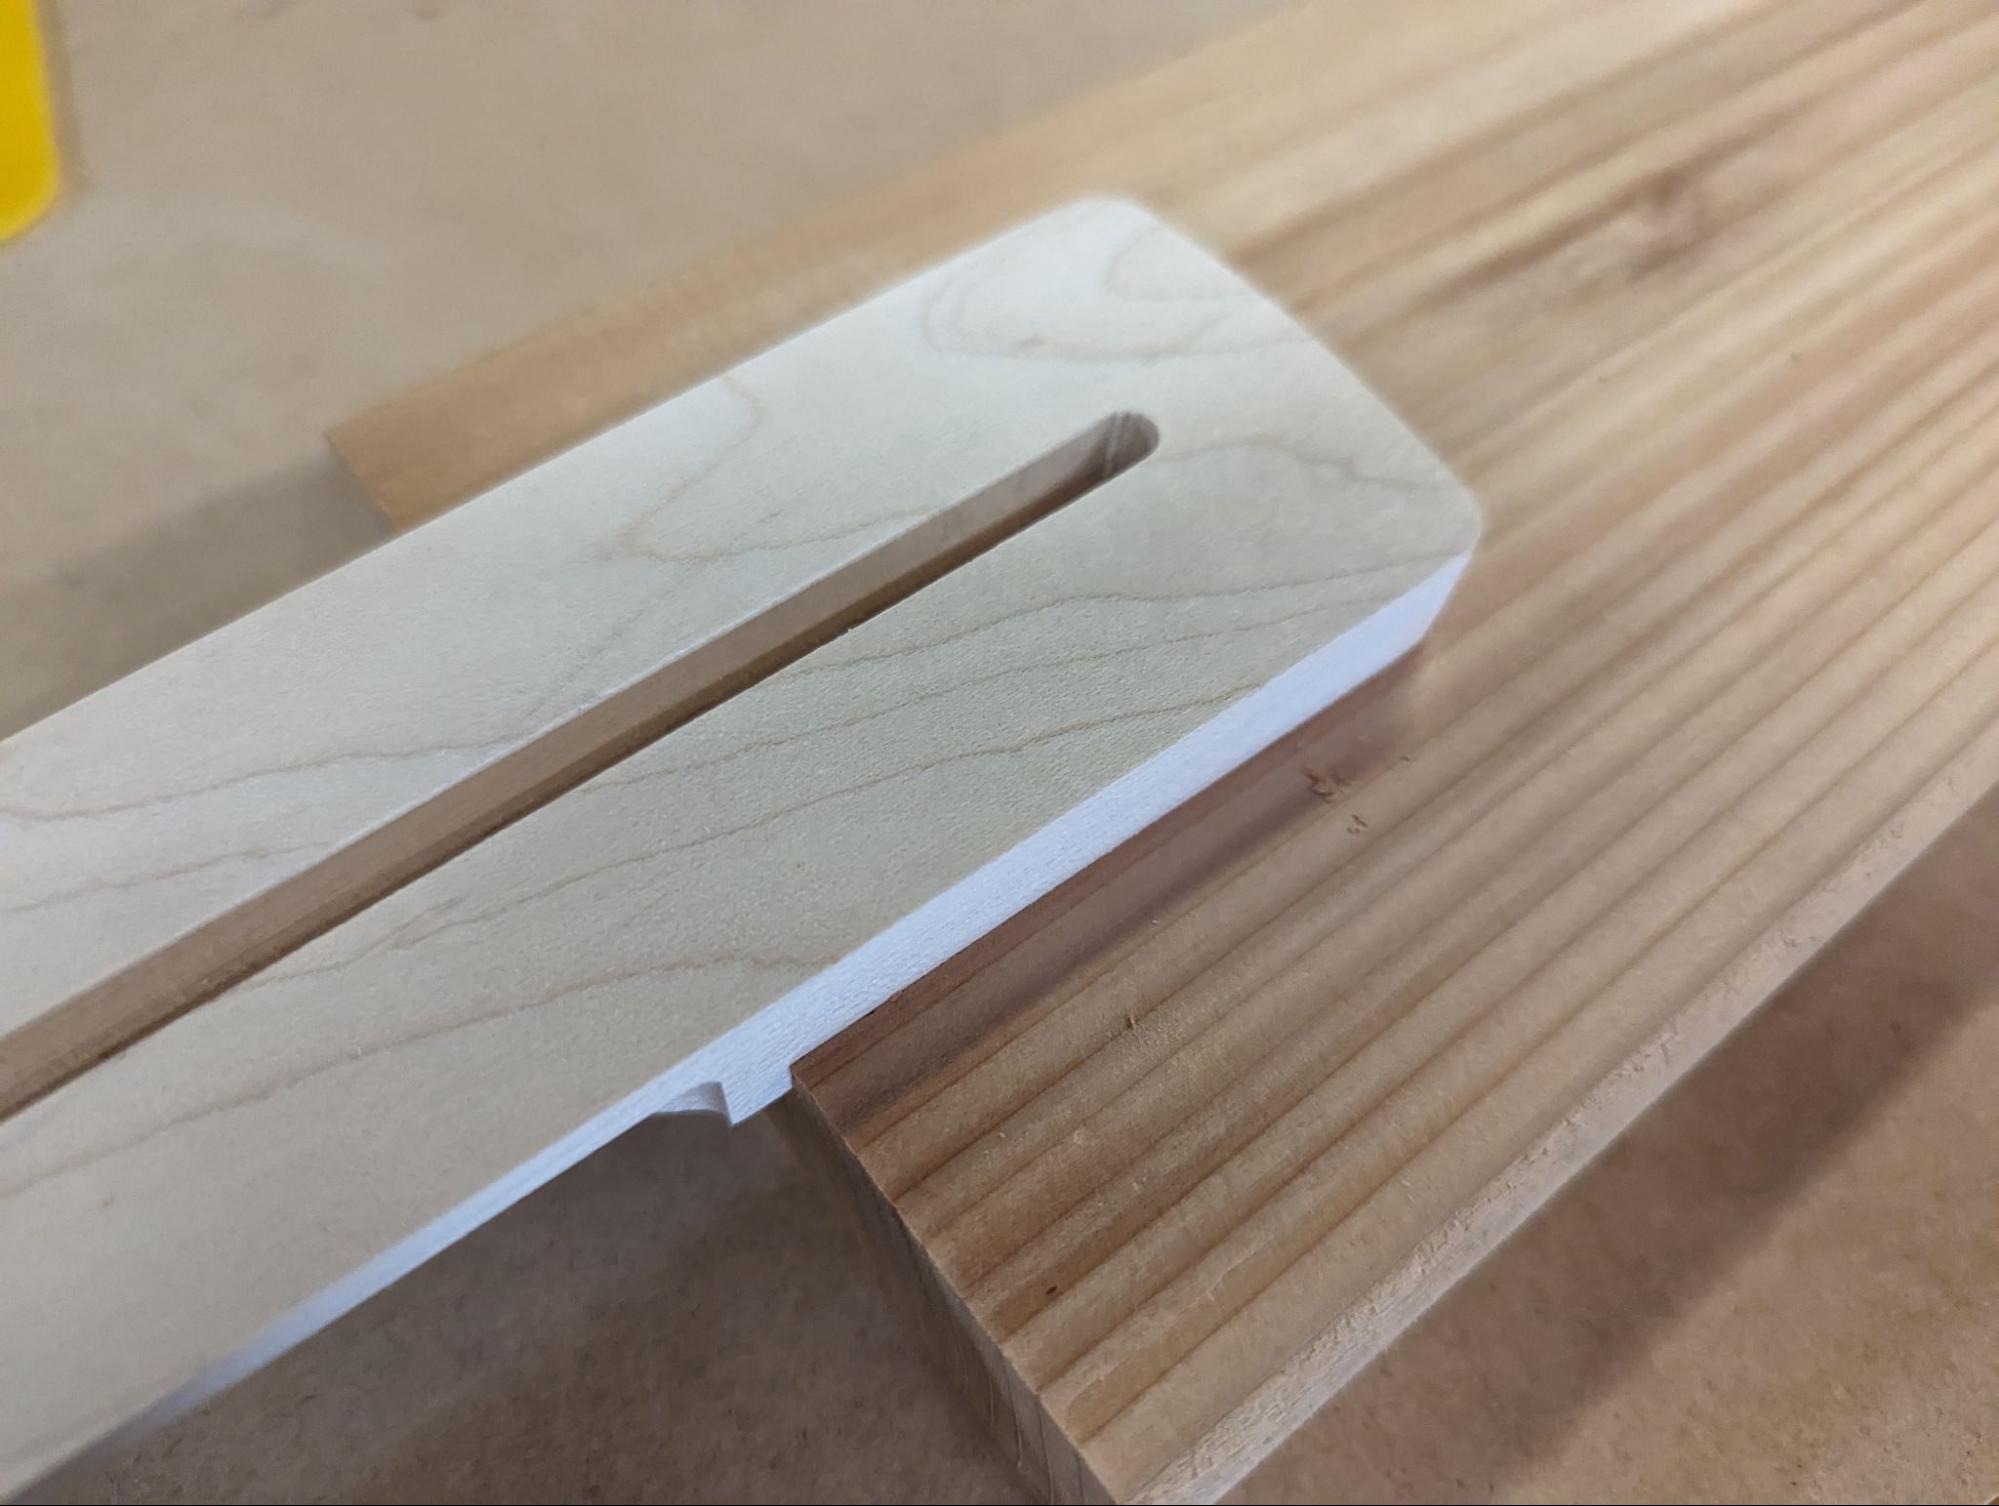
The next milling step was to machine the fingerboard out of my piece of Paduak wood. Double stick tape was my preferred hold-down method again, and machining the fingerboard used three bits. The radius of the fingerboard was milled using the same 1/4" ball nose bit and the fret slots were milled using a tiny 0.022” bit that I buy from PreciseBits. The fret marker holes for the Mother of Pearl dots, the other small-ish features, and the cutout were done using a 1/8" end mill bit. I used a down spiral bit to keep from tearing up the top surface of the fingerboard. Tim uses an interesting feature called the “Zero Fret” instead of just a traditional nut, which he describes in this YouTube Video.
Following Tim’s instructions I inserted the truss rod into the neck, secured its ends with some 5-minute epoxy, and carefully glued the fingerboard to the neck. To make sure I had even clamping pressure I shaped a “clamping caul” with the negative of the fingerboard radius and used that to spread the clamping pressure evenly across the fingerboard’s surface. And of course, I used LOTS of clamps. Once the glue had thoroughly set, a little satisfying time spent with a rasp, block plane, and sandpaper was all that was needed to finish shaping the back of the neck.
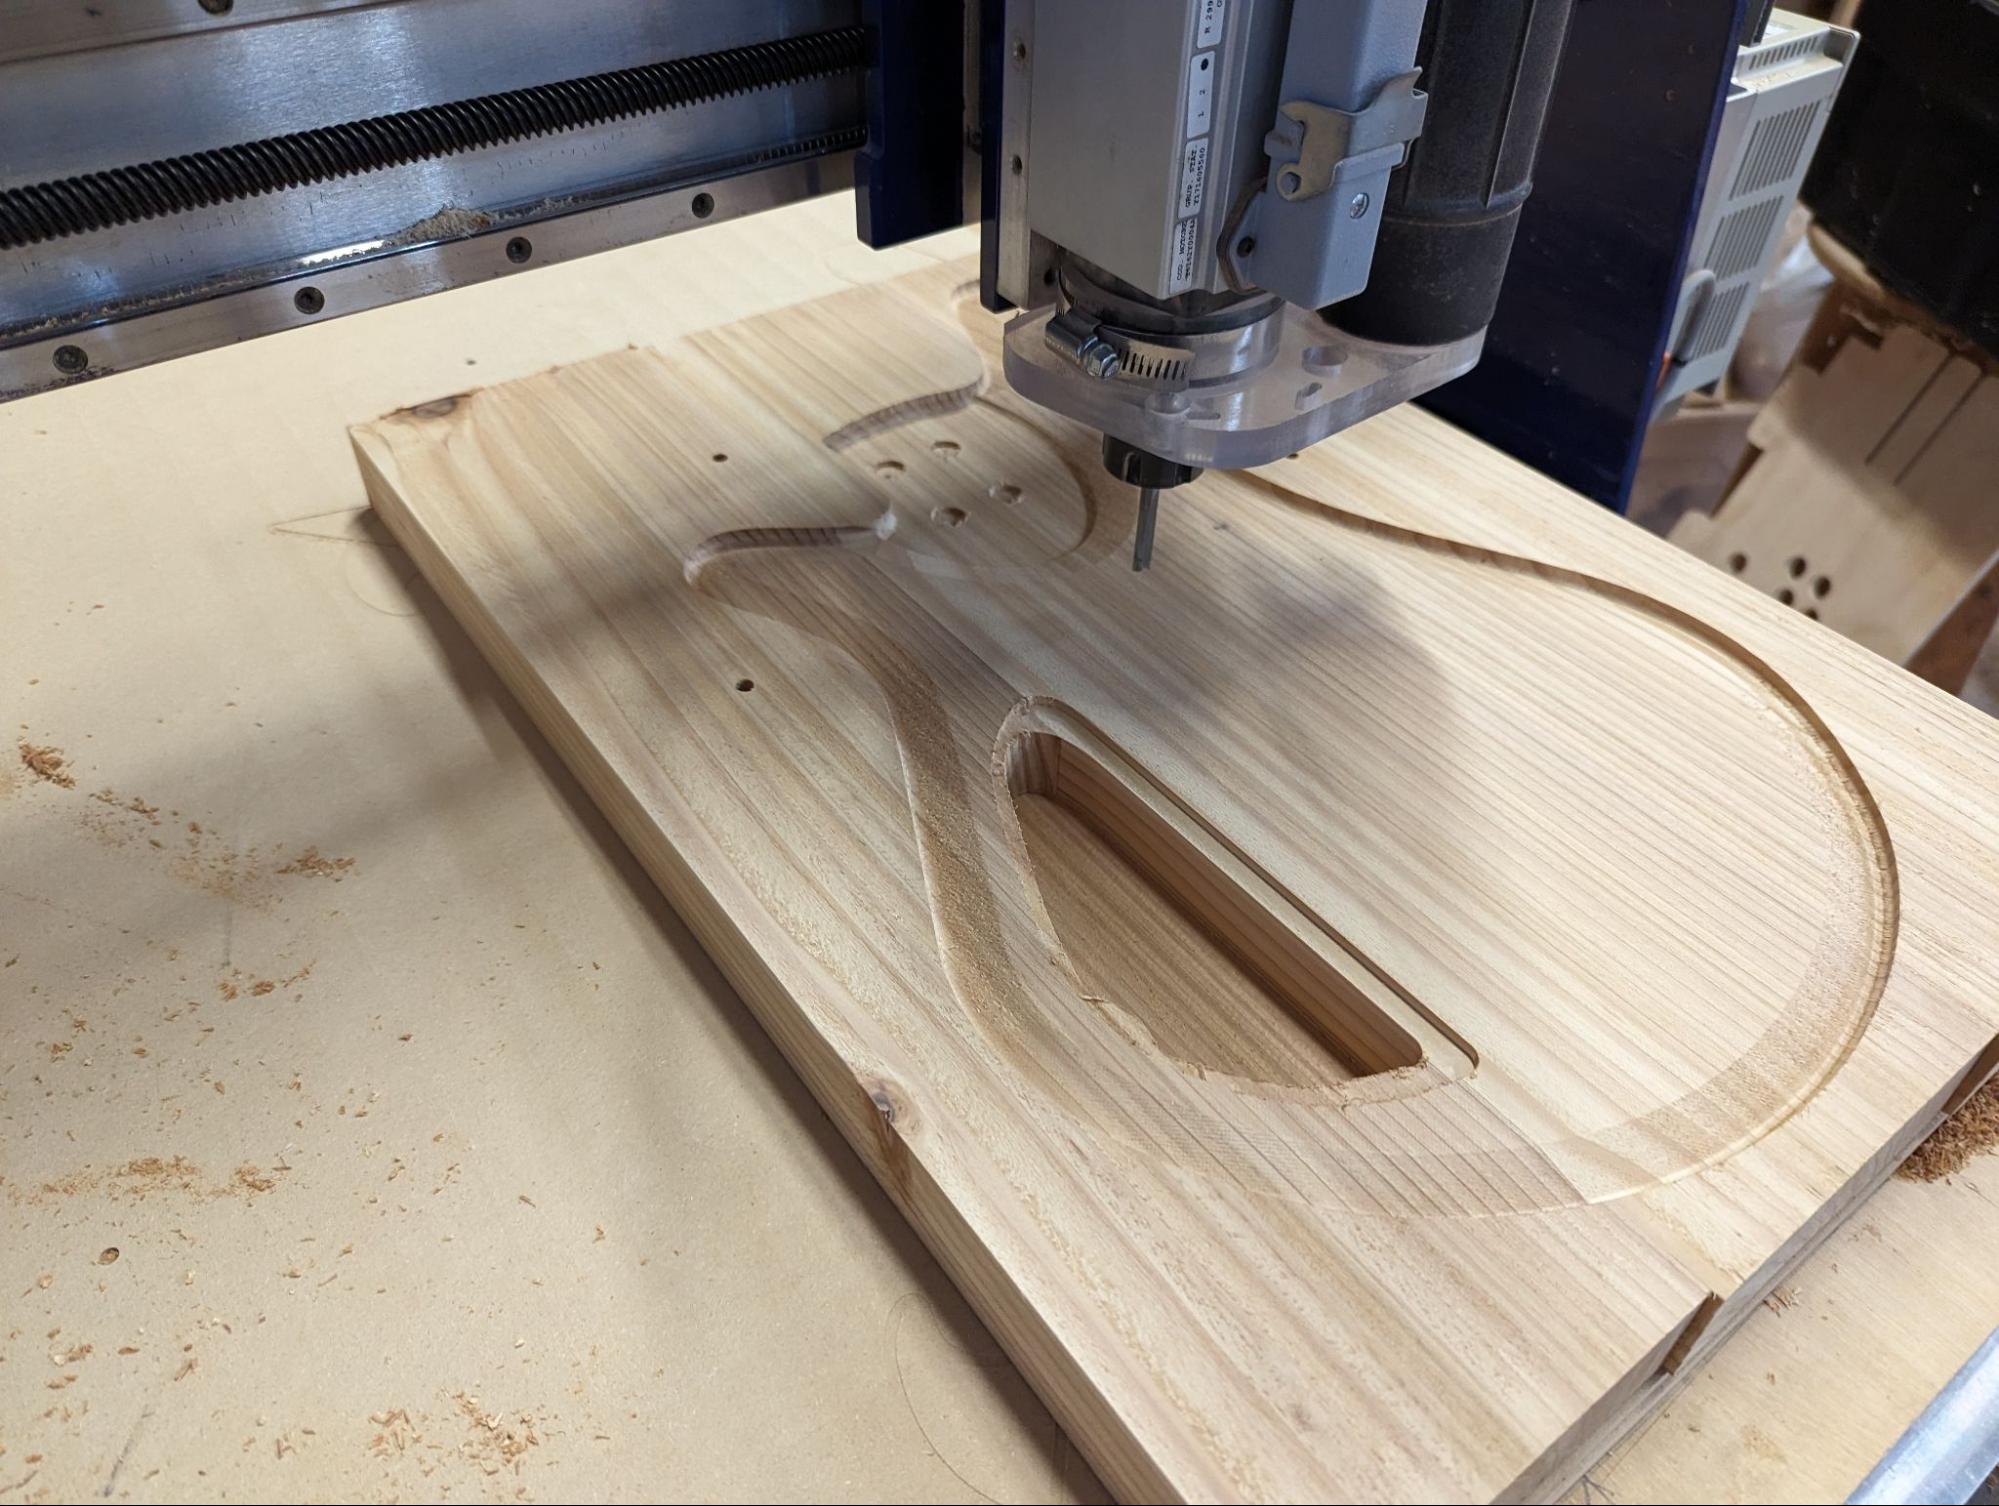
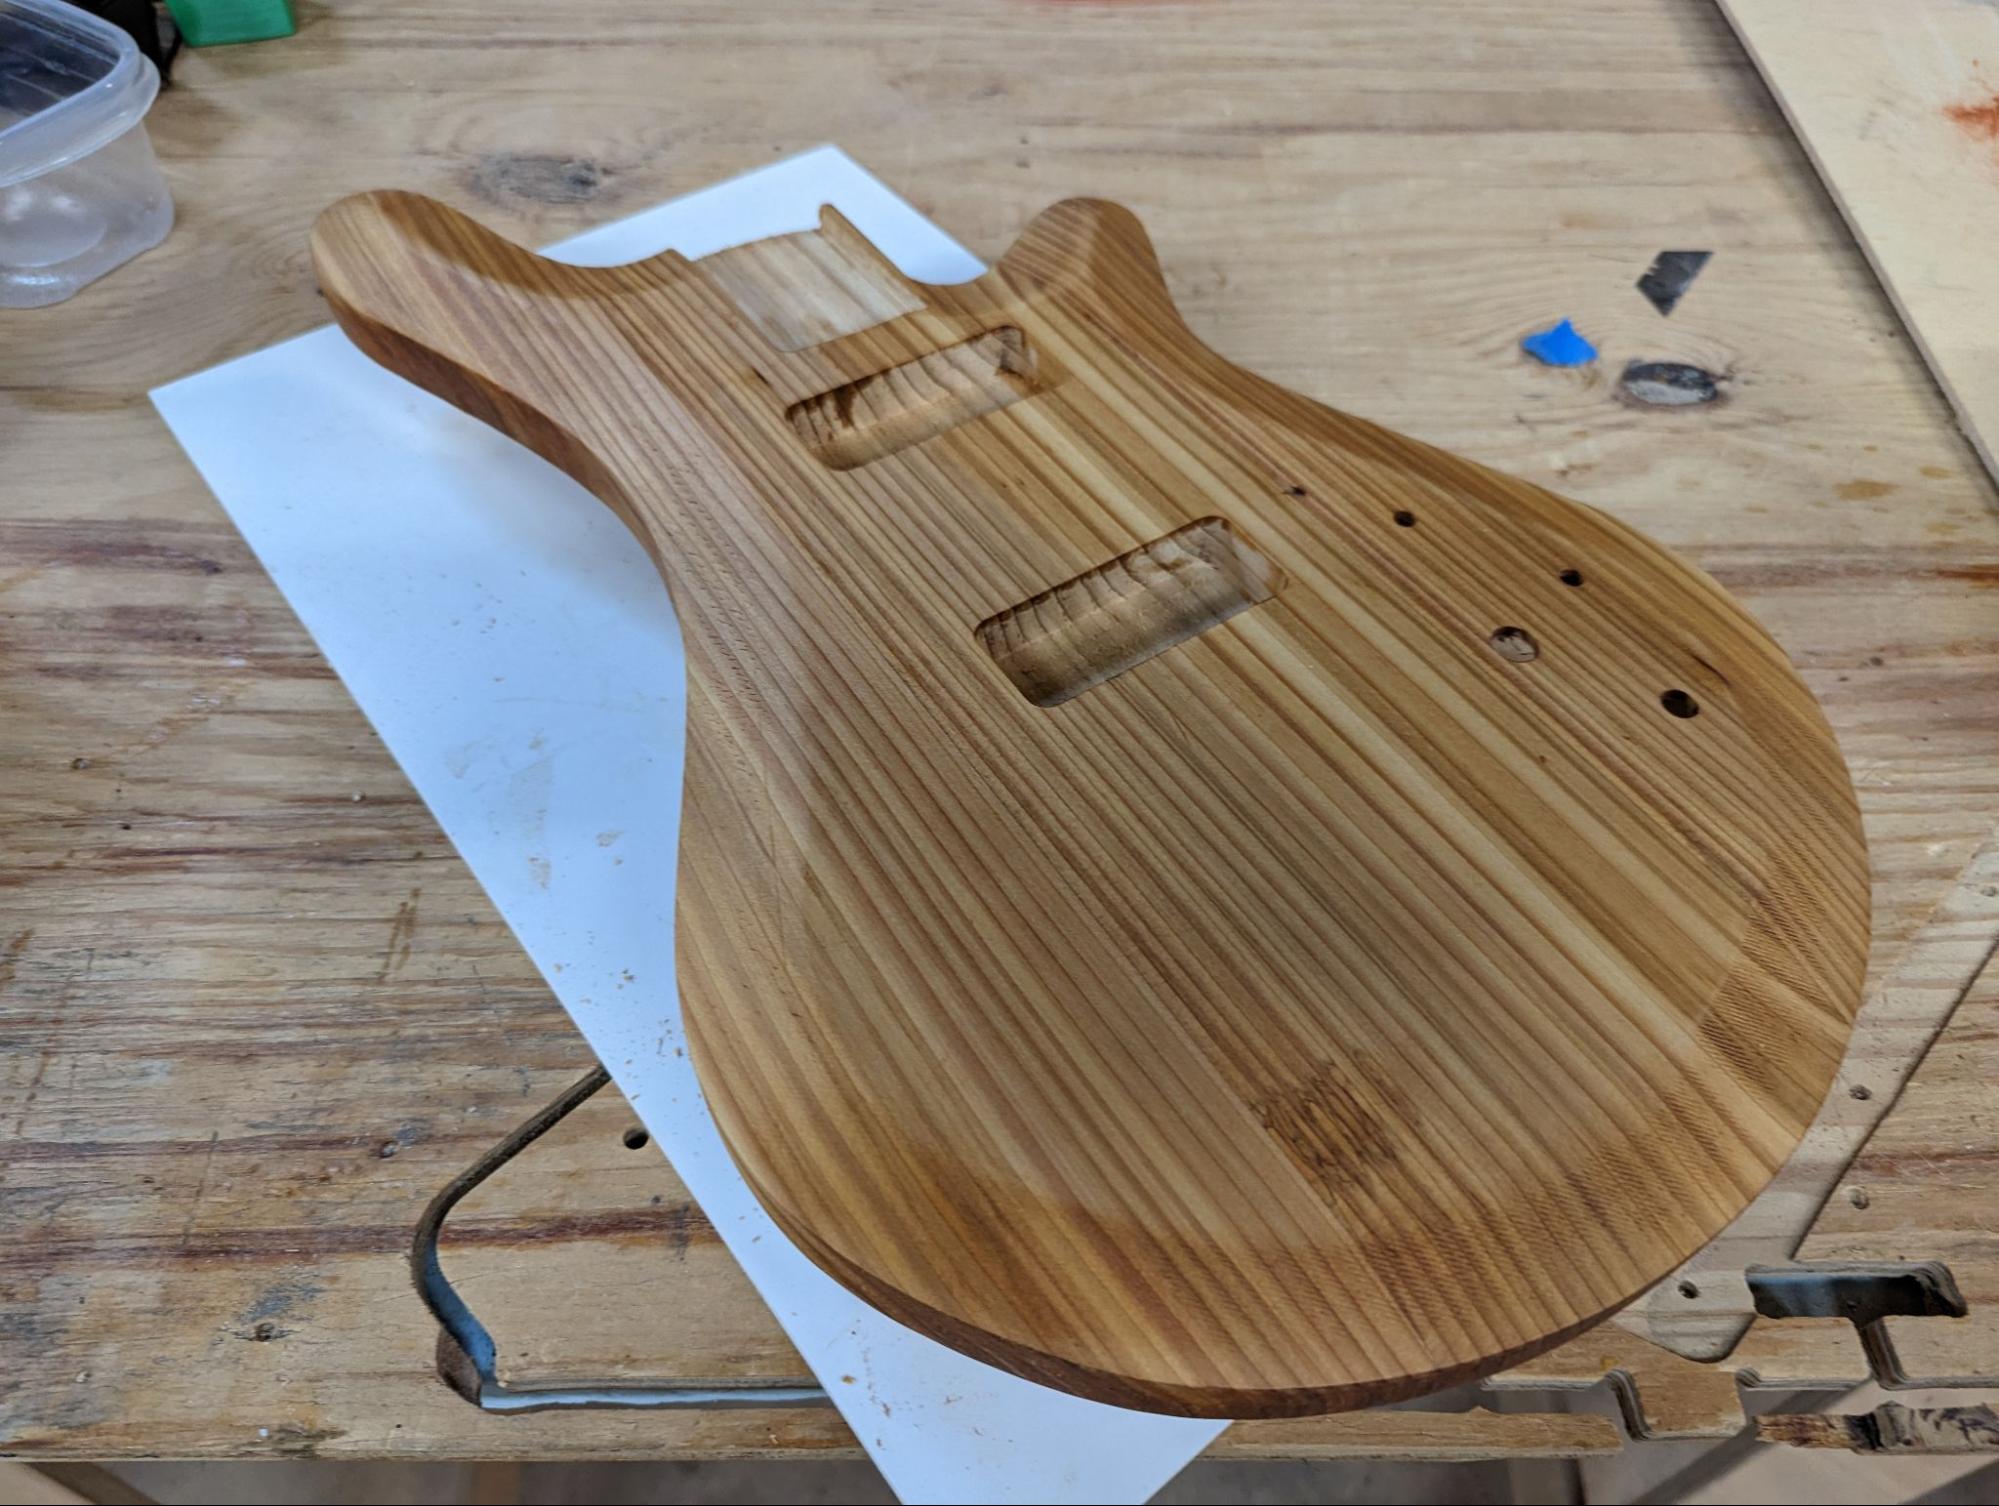
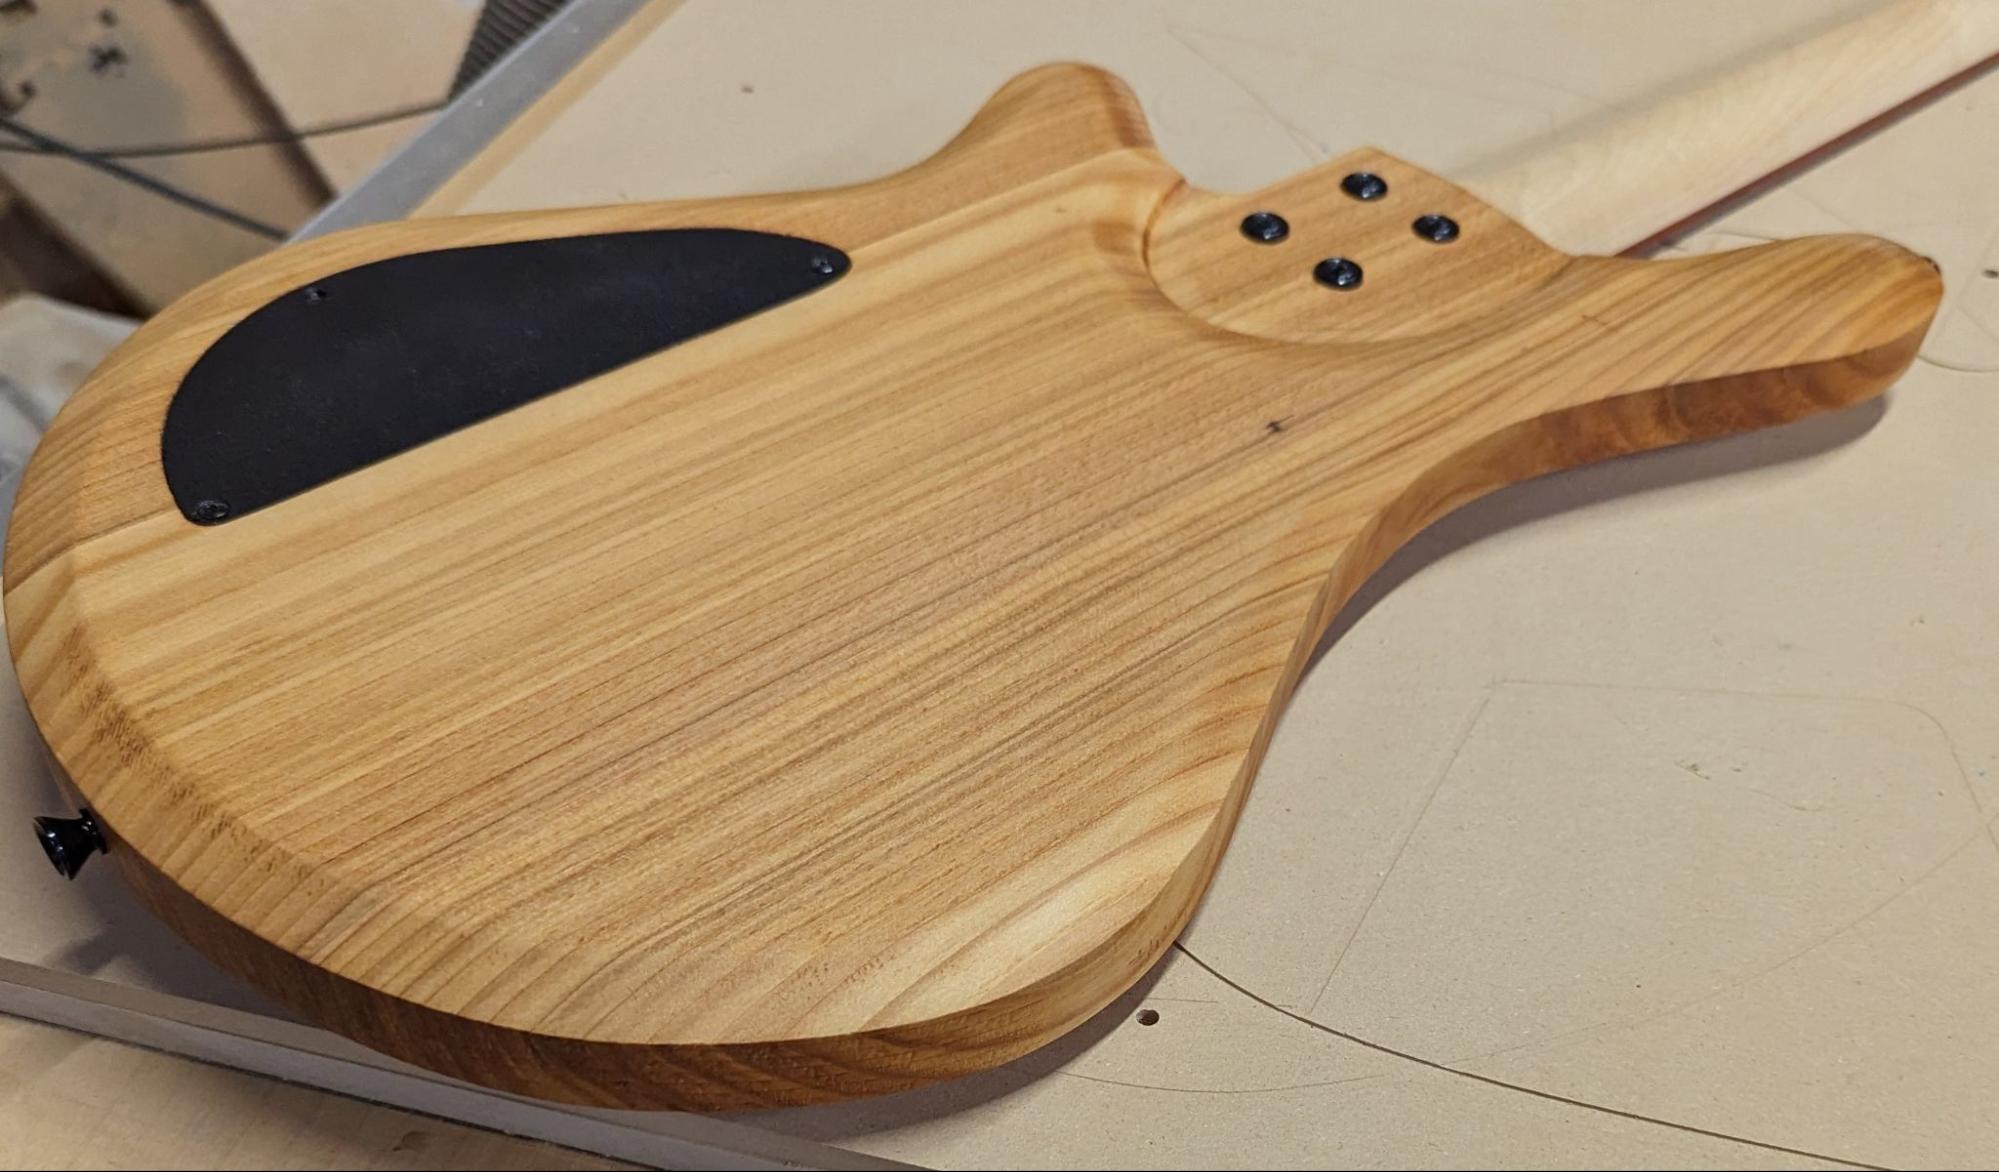
The final fabrication step was the body, which is another two-sided machining process. The Western Red Cedar lumber was a little prone to chipping on the end grain, but I was happy with the way the body turned out. I broke my cardinal rule of “Don’t remove the parts from the tool until everything has been checked” and didn’t check the fit of the P-90 pickups while it was still securely fastened down. It turned out that the pocket for them was a little too tight which would have been an easy file adjustment and recut if the body was still on the machine but required a bit of work with a sharp chisel.
One thing that Tim does when he creates his design files is to set the X and Y axis 0 points at the center of the blank rather than the lower left corner. Many others do that as well, but I must admit that I had never cut files that were set up that way before and it required some mental re-orienting to make sure I was zeroing everything correctly.
I didn’t want too shiny of a finish so I used several coats of Danish Finishing Oil on the body.
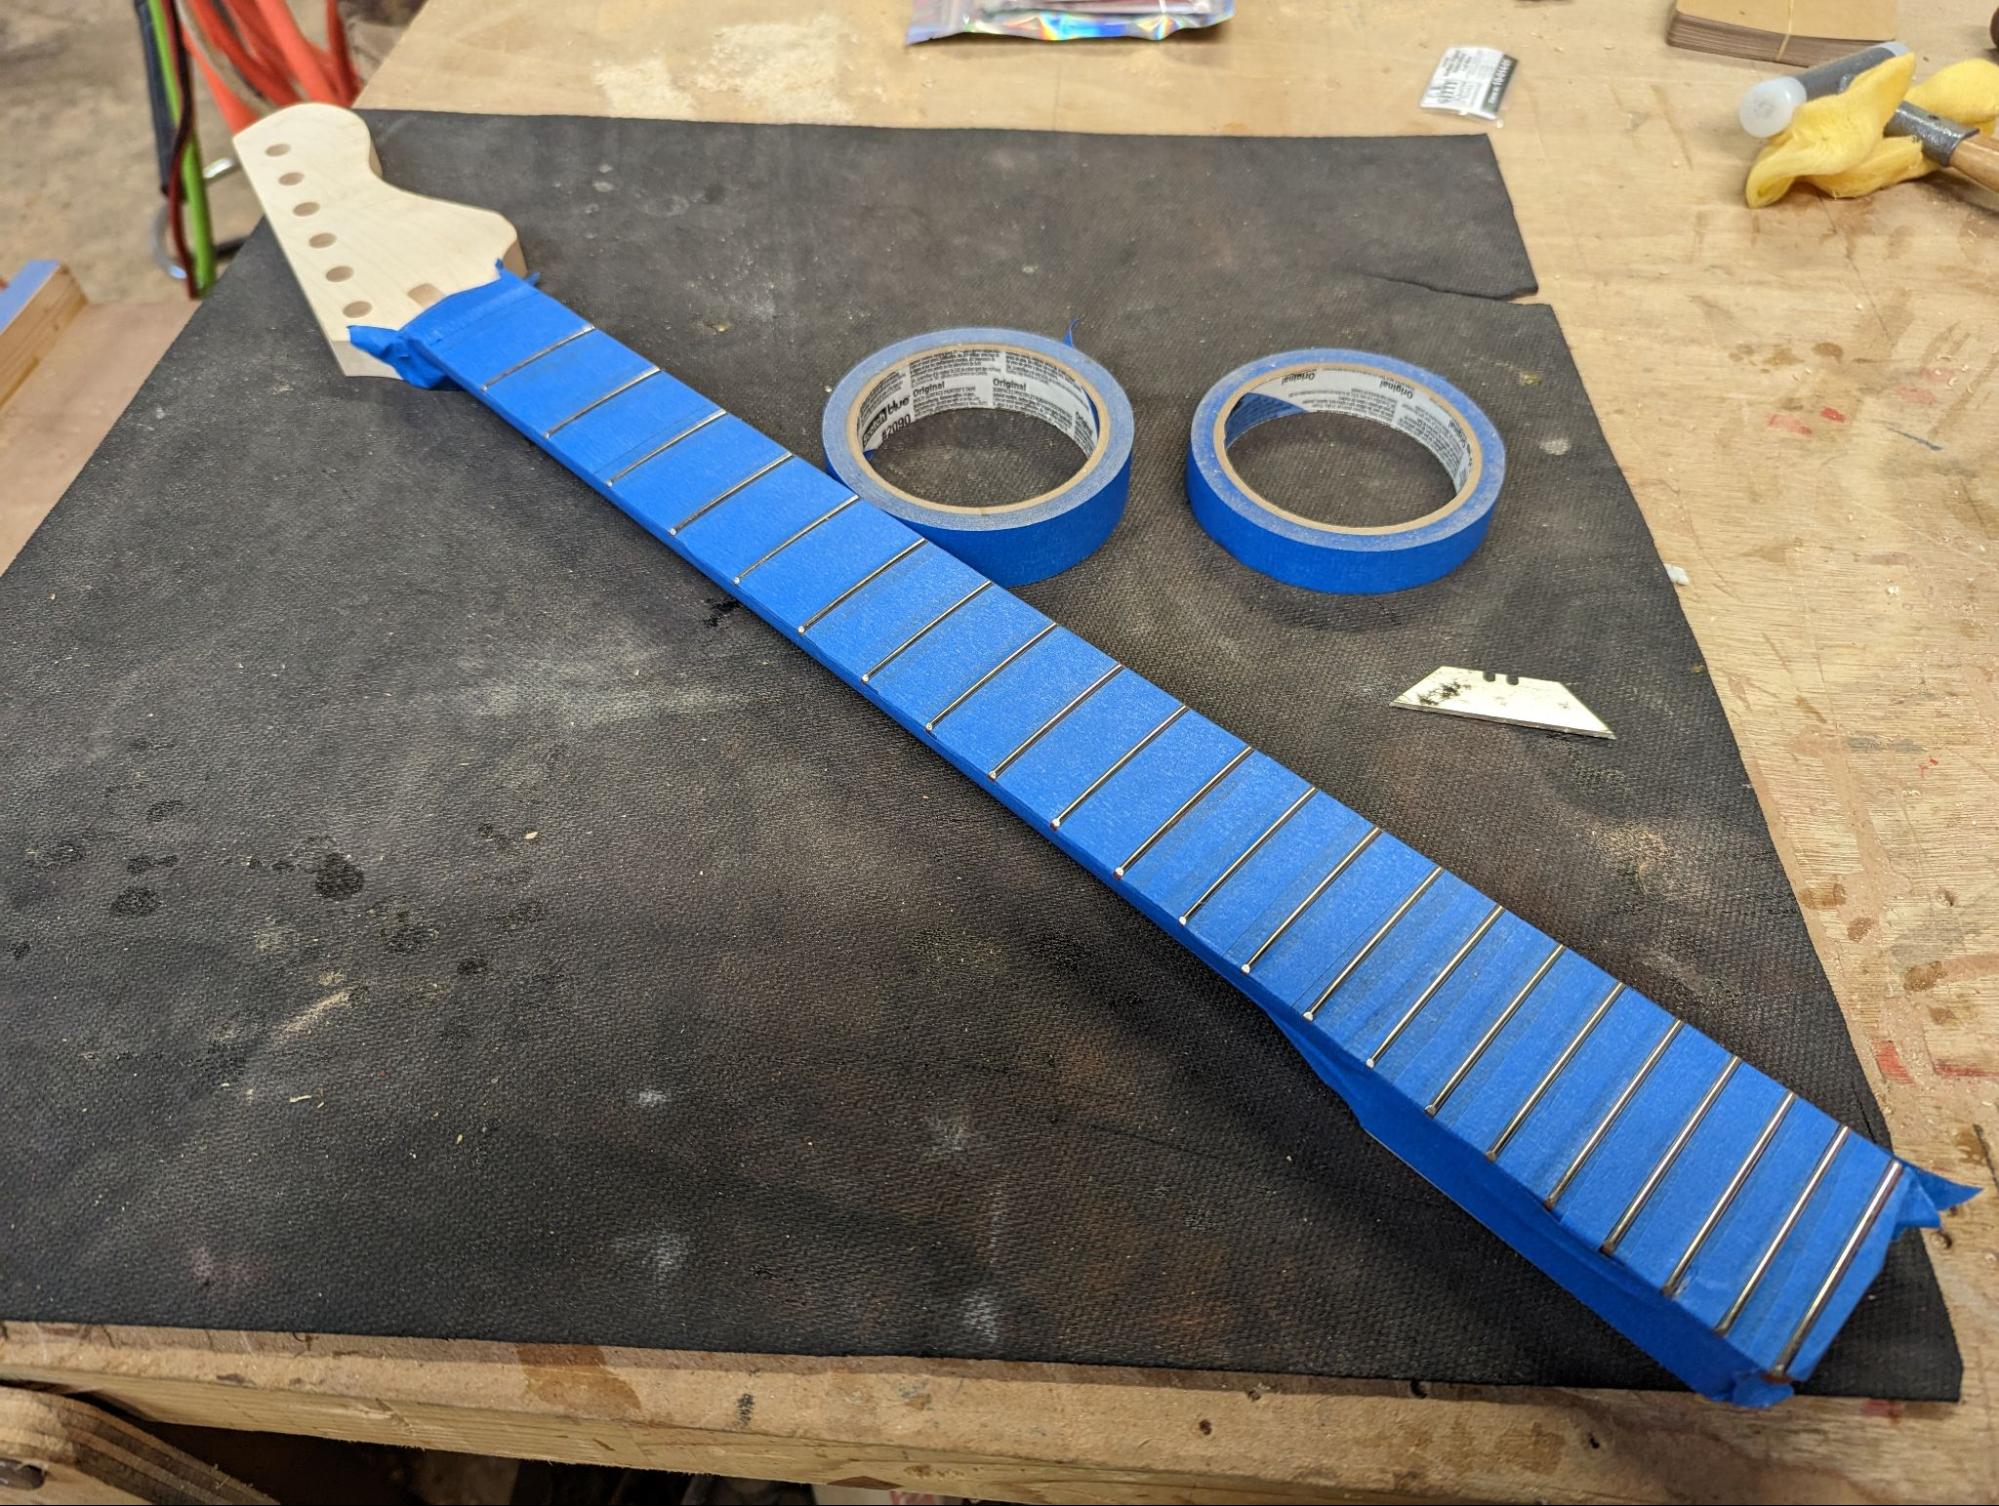
The hardest part was coming up: Fretting and truing the neck up. Tim’s video led me through the steps, but it was a matter of hammering in the frets, truing the neck with the truss rod, and making sure that there weren’t any frets that were higher than the others by sanding them with a really straight sanding block. To protect the wood of the fingerboard, strips of tape were used to cover the Padauk while sanding and shaping. The final step was to reshape the frets to their original round shape, then remove the tape and file the fret ends to remove any sharpness.
A couple of coats of lacquer on the neck and a final coat of Odie’s Oil on the body and I was ready to start putting it together. I had a couple of small holes to drill for wires to run before the neck was put on. I cheated on the wiring and ordered a pre-assembled switch assembly from Amazon. Thankfully, this only required me to do a little bit of soldering for the pickup wires. I’m terrible at soldering! The neck was fastened to the body with four large screws with ferrules and the cover for the wiring cavity was installed in the back to protect the wiring. I used my favorite coating for the wiring cover.. truck bed liner!
Installing the bridge was a somewhat fussy step because it required a lot of measuring and double checking the layout to make sure it was in the right place and still had enough room for adjustment to get everything tuned up correctly. The tuners were easy to mount and then it was time to install the strings, fine tune the neck using the truss rod’s adjustability, and plug it in.
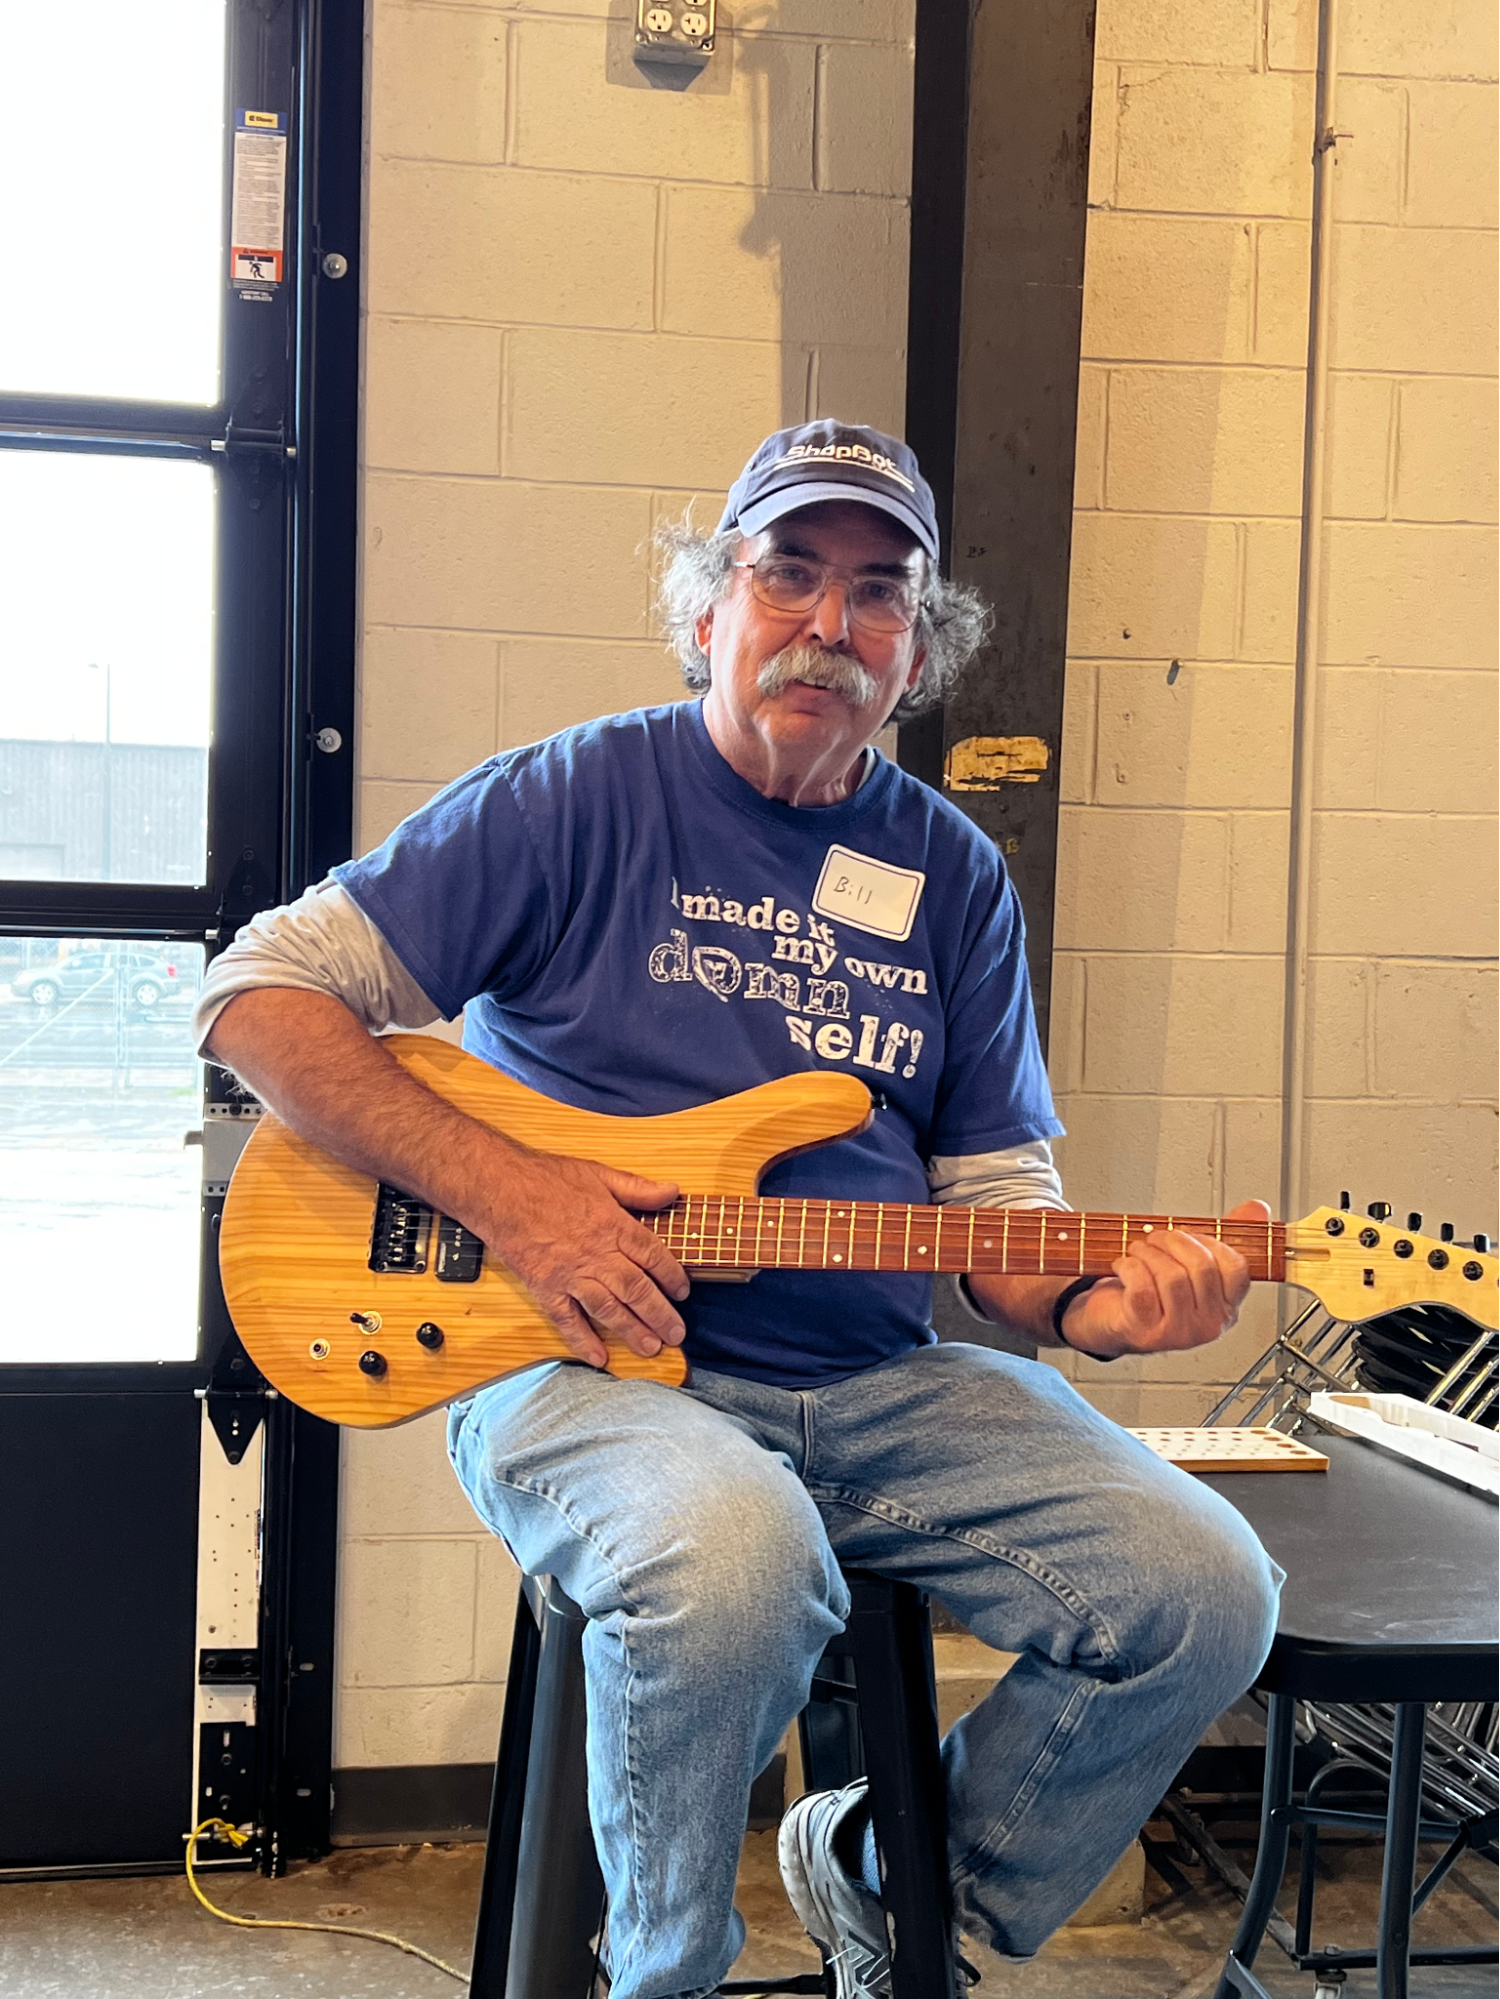
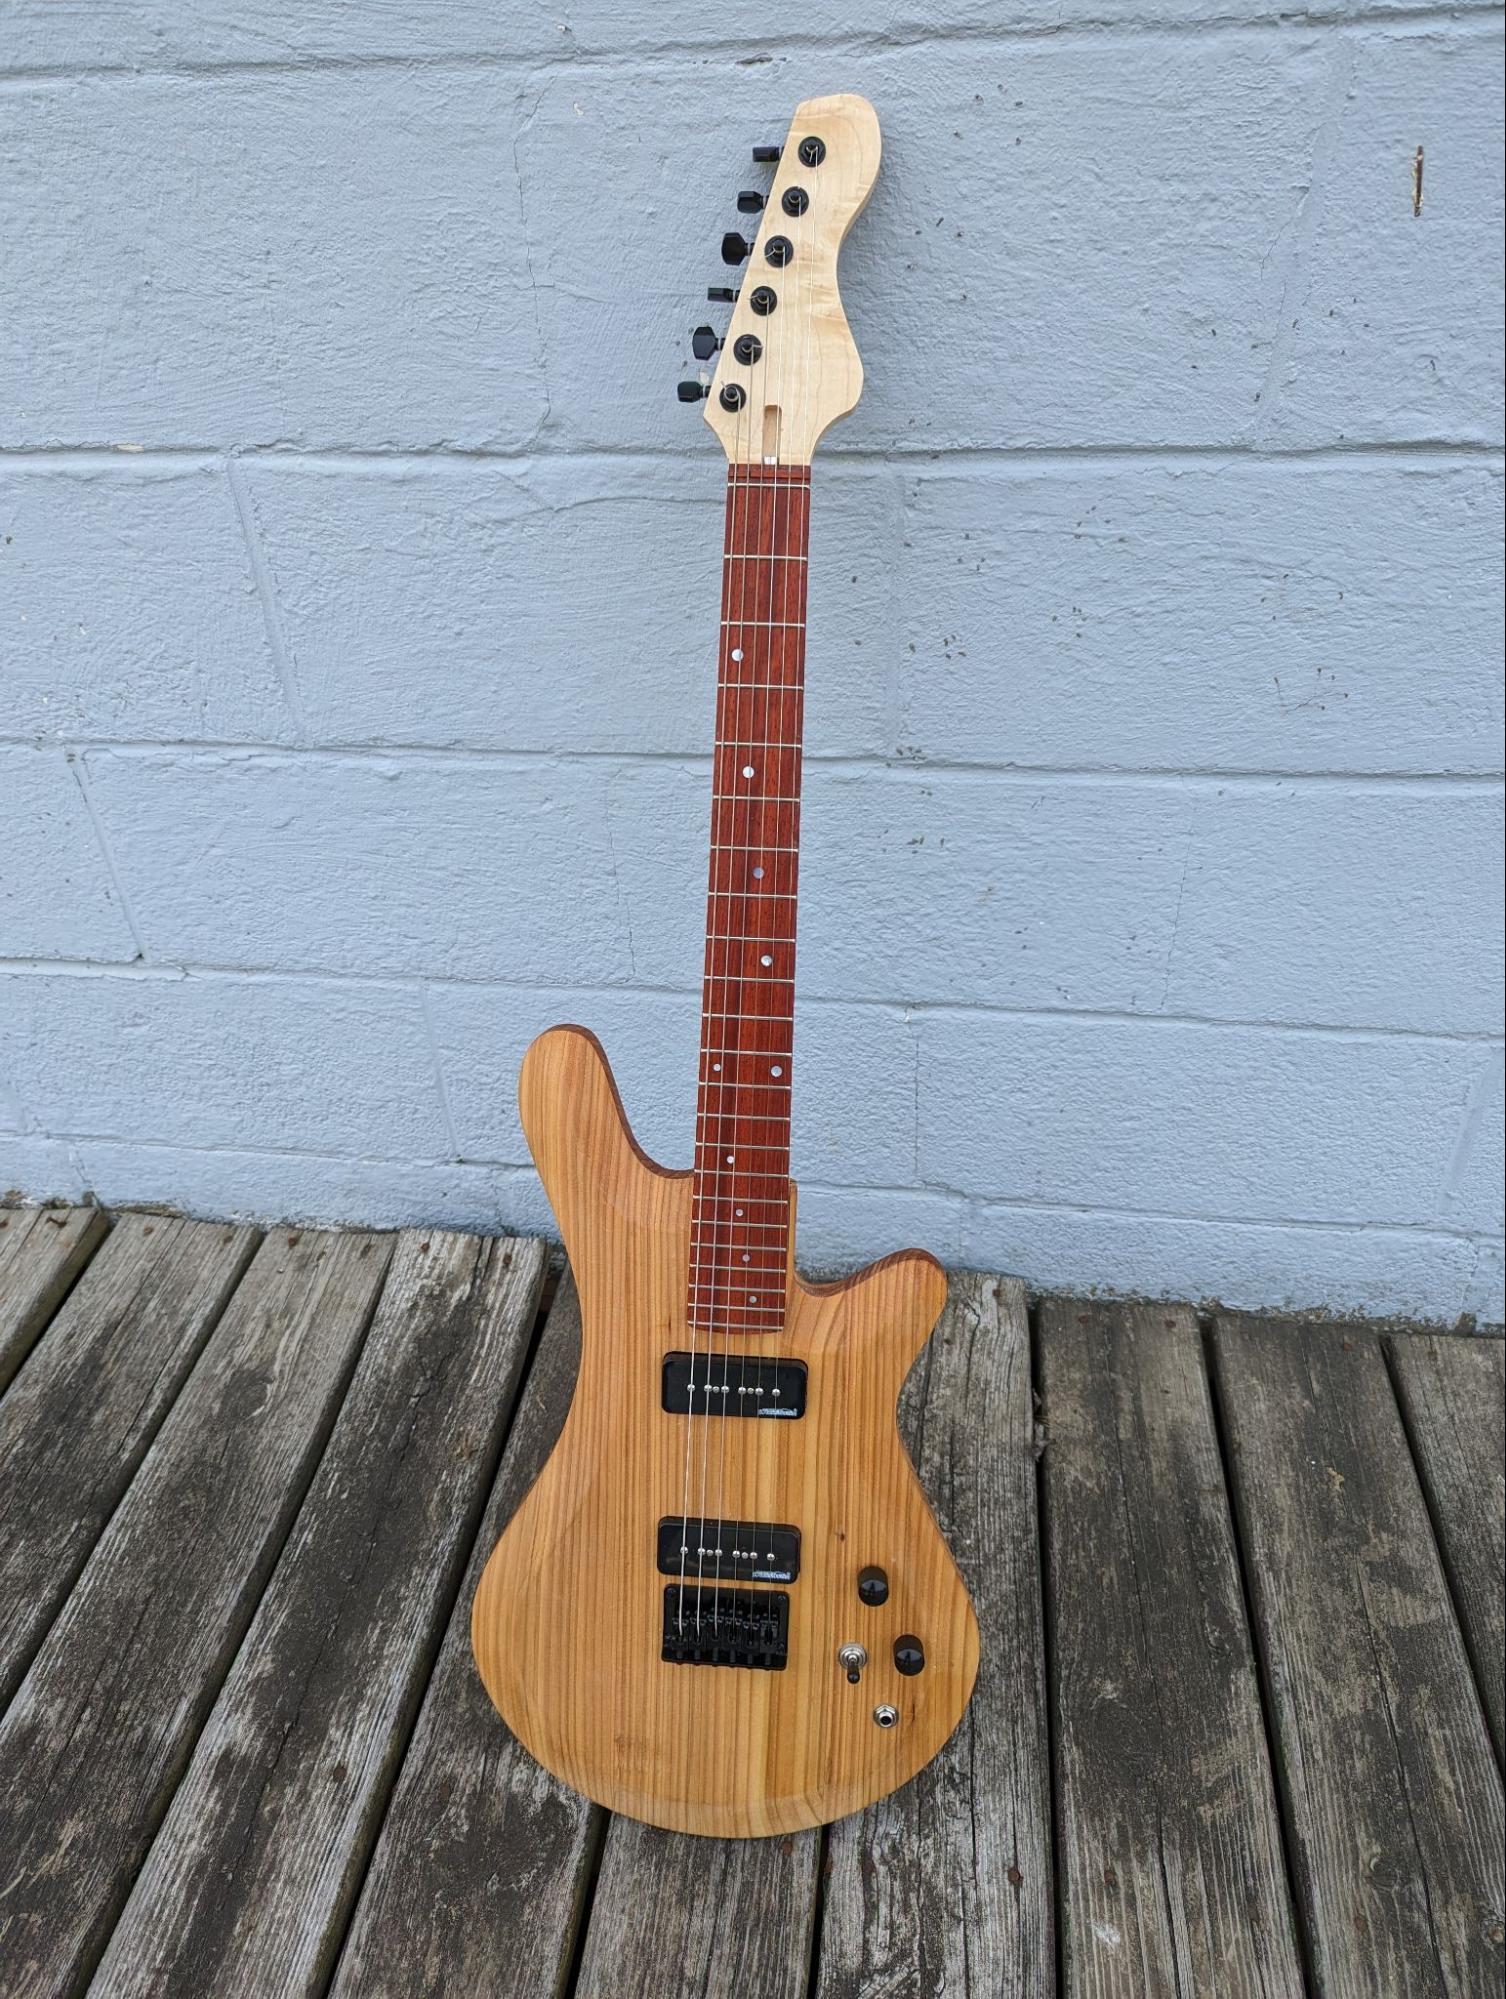
It’s a bit frustrating not to be able to play it, but I'm super happy with the way it turned out. The majority of the credit for that goes to Tim Sway and New Perspective Music. This guitar was designed from the ground up to be fabricated in all kinds of ways, and for a first guitar build it turned out really well. If you have ever thought about building a guitar I’d strongly suggest looking at this design before making just another copy of a Telecaster or Stratocaster!
--
View and listen to a demo of this guitar HERE! (Use headphones or high quality external speakers for best audio representation)
CNC Machine used for guitar body and neck production: ShopBot Desktop MAX
CNC Bits: ShopBot Online Store and PreciseBits
Guitar plans purchased from: New Perspective Music
Luthier tools purchased from: StewMac
Hardware/electronics from: Amazon (But we recommend researching and choosing parts that work best for you. There's a lot to choose from out there! Just be sure they'll fit the routes you cut as there are many different sized pickups and related hardware.)
Toll Free: 1-888-680-4466
Phone: 919-680-4800
Fax: 919-680-4900
ShopBot Tools, Inc.
3333-B Industrial Drive
Durham, NC 27704
USA
Office Hours
Monday–Friday: 9am–5pm EST
After Hours Tech Support
Monday–Friday: 5pm–9pm EST
Saturday–Sunday: 10am–5pm EST
Office Closure
ShopBot Tools, Inc. is closed New Year’s Day, Memorial Day, July 4th, Labor Day,
Thanksgiving Day and the following Friday, and Christmas Eve and Christmas Day.
Outside of normal office hours, we regularly check for support requests,
email and phone messages. To make sure we can get back to you as soon as possible,
leave a phone number or return email address where you will be available.